Tables
To create a table in the rich text editor, click the Table toolbar item.
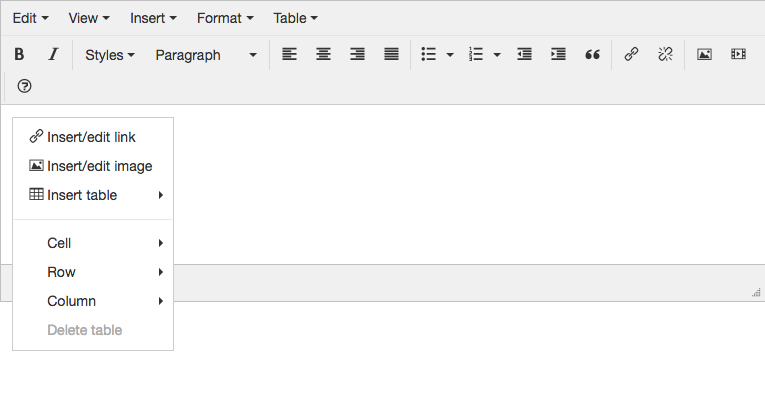
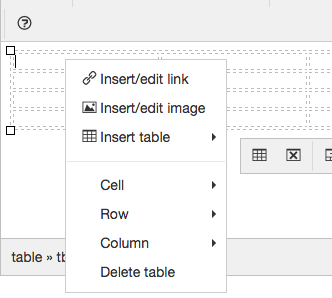
You can also right click with your mouse where you want the table to go. A context menu will show with an option to insert a table. (Note, if you turned off the Show the editor context menu on "right mouse click" field under the Editor Settings then the editor context menu will not show.)
To create a table, hover over the Insert table item and select the dimensions of the table using the provided grid.

Once you have added your table you can populate your content or you can further configure the table.
General Configuration Options
There are a few different ways that you can configure the table.
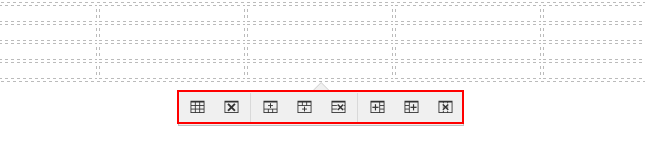
1) If you click your mouse anywhere within the table a small context menu will show below the table.
2) You can right click your mouse in any cell to get a context menu that shows different table configuration options.
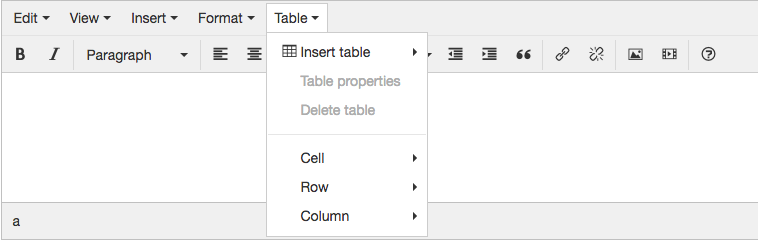
3) Under the Table toolbar item is a number of different configuration options for the table. They are similar to what’s in the context menu if you right clicked in the table.
We will use this option for most of the table configuration instructions below.
Table Properties
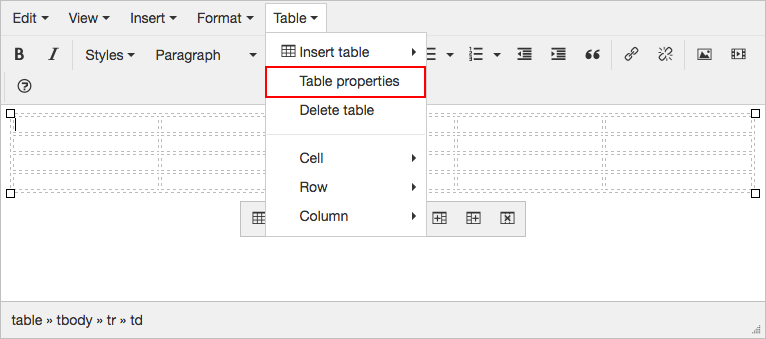
To configure the table as a whole first click within the table. Then click the Table toolbar item and then click Table properties.
This will bring up the Table properties window. Here you can set different properties for the table.
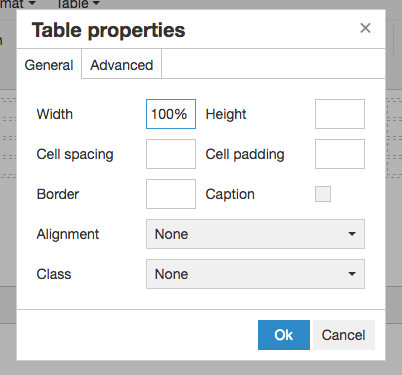
Width
Width let’s you specify the width of the table.
Height
Height let’s you specify the height of the table. Generally it’s best to leave this empty and let the content dictate the height.
Cell spacing
Cell spacing let’s you specify the value for the cellspacing table tag attribute.
Cell padding
Cell padding lets you specify the value for the cellpadding table tag attribute.
Border
Border lets you specify a table border width.
Alignment
Alignment let’s you specify whether to align the table left, right, center or not aligned (default).
Class
If you have set up one or more Table Classes under Editor Settings then you will also see the Class field. You can pick a table class to apply to the table. This will set the class table tag attribute value.
Advanced Tab
Under the Advanced tab you can specify custom styles for the table tag as well as the border and background styles.
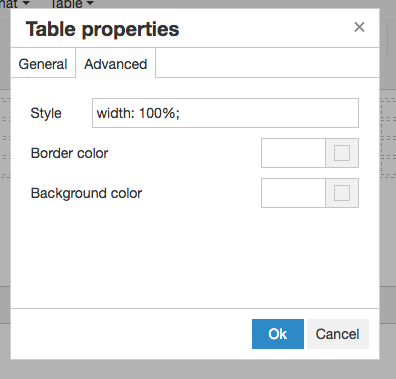
Note that best practices are to configure styles for your tables within the stylesheets for your website instead of configuring them for a single table.
Style
The Style field will show any styles set by other table property fields. You can also enter your own custom CSS styles.
Border color
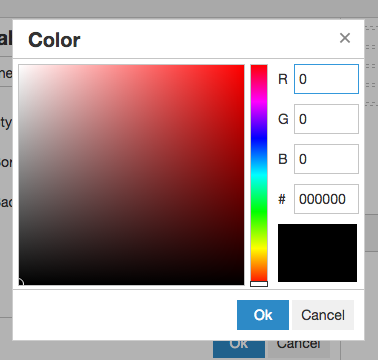
You can specify a specific hex color to use for the table border. Or you can click the gray box next to the field to pick a color.
Background color
You can specify a specific hex color to use for the table background. Or you can click the gray box next to the field to pick a color.
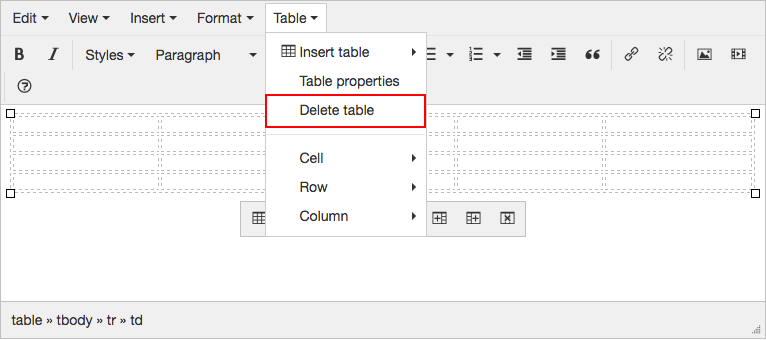
Delete Table
To delete your table first click anywhere inside the table and then press the Delete table button in the Table dropdown menu.
Cells
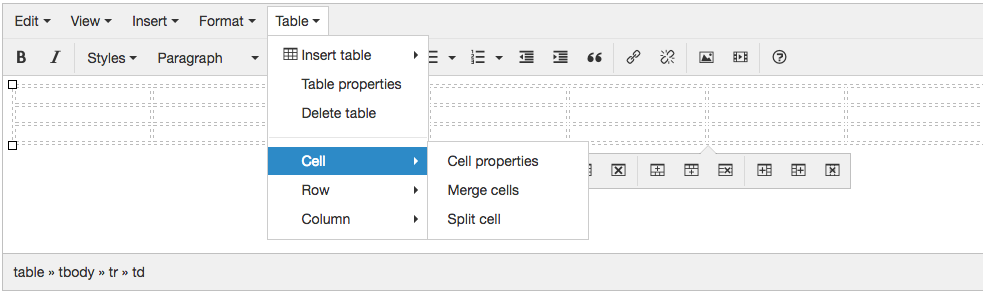
First click within the cell that you want to edit or highlight more than one table cell. Under the Table menu hover over the Cell item.
The cell properties button will open a pop up menu that allows you to edit various properties of your table’s cells.
See the Table Cell Properties section below for more information.
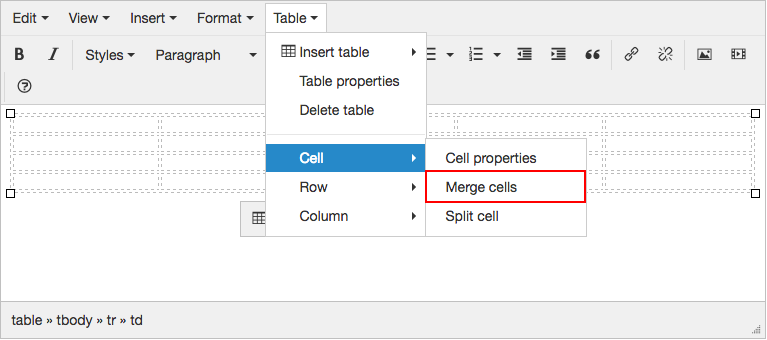
Merge Cells
To merge cells, highlight the cells you wish to merge. Then, drop down the Table menu and hover the Cells item and then click the Merge cells button to merge the cells.
Split Cell
To split a cell select the cell you wish to split and open the Table menu. Hover the Cells item and then click on the Split cell button.
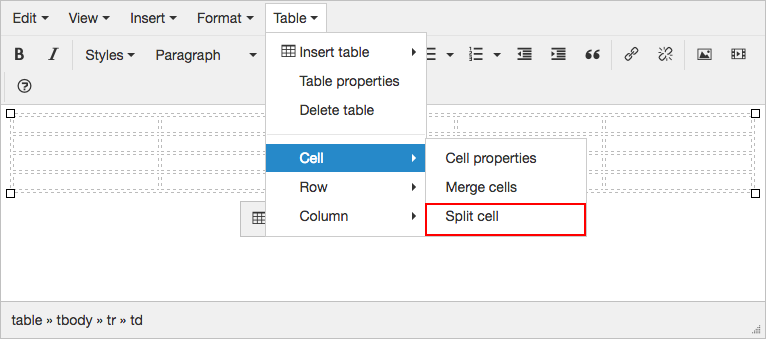
Table Cell Properties
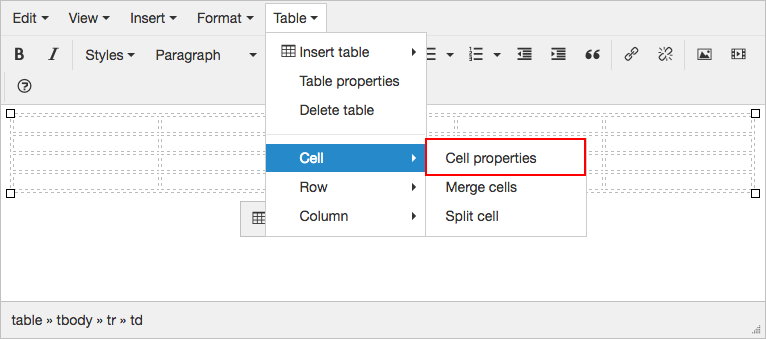
To set the properties of a table cell first click anywhere within that cell. Then click the Table toolbar button, hover over the Cell item and then click on Cell properties.
You can apply the same properties to multiple table cells by highlighting multiple table cells first instead of simply clicking within one.
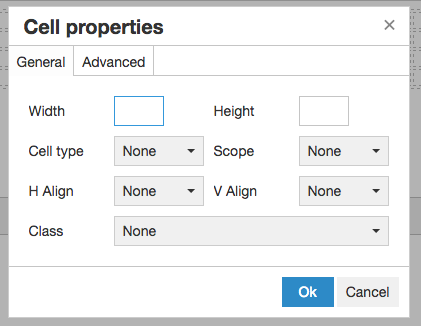
This will bring up the Cell Properties window. Here you can set different properties for the table cell and the data within it.
Width
Width let’s you specify the width of the table cell.
Height
Height let’s you specify the height of the table cell. Generally it’s best to leave this empty and let the content dictate the height.
Cell type
The Cell type menu sets the element to be a regular table cell or a heading cell (<td> or <th>).
Scope
The Scope defines a way to associate header cells and data cells in a table. Note that it’s not supported in HTML5.
Horizontal Align
The H Align field lets you specify the horizontal alignment of the content within the cell.
Vertical Align
The V Align field lets you specify the vertical alignment of the content within the cell.
Class
If you have set up one or more Table Cell Classes under Editor Settings then you will also see the Class field. You can pick a class to apply to the table cell. This will set the class table cell tag attribute value.
Advanced Tab
Under the Advanced tab you can specify custom styles for the table cell tag as well as the border and background styles.
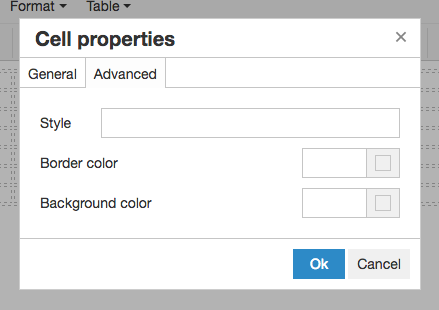
Note that best practices are to configure styles for your table cells within the stylesheets for your website instead of configuring them for a single table cell.
Style
The Style field will show any styles set by other table cell property fields. You can also enter your own custom CSS styles.
Border color
You can specify a specific hex color to use for the table cell border. Or you can click the gray box next to the field to pick a color.
Background color
You can specify a specific hex color to use for the table cell background. Or you can click the gray box next to the field to pick a color.
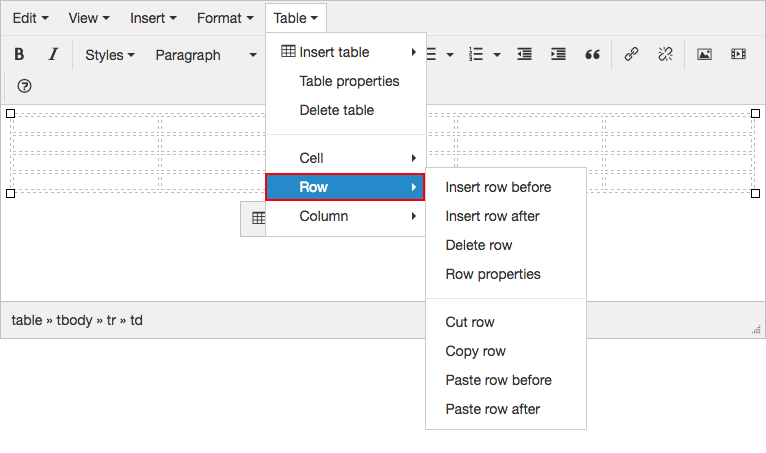
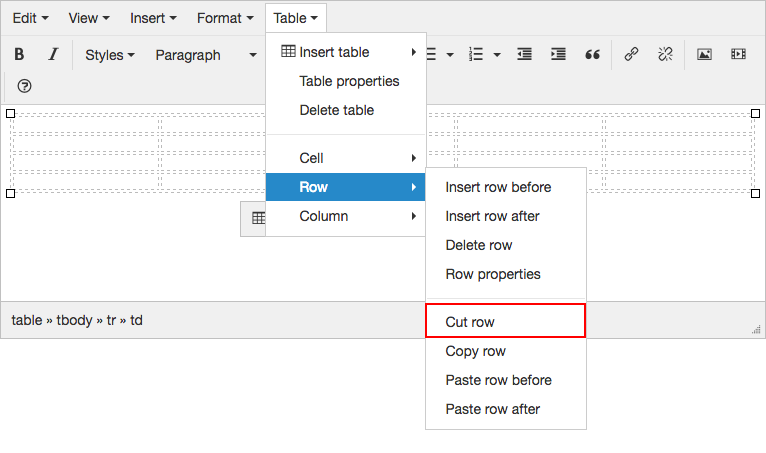
Rows
To work with rows click the Table menu and highlight the Row button.
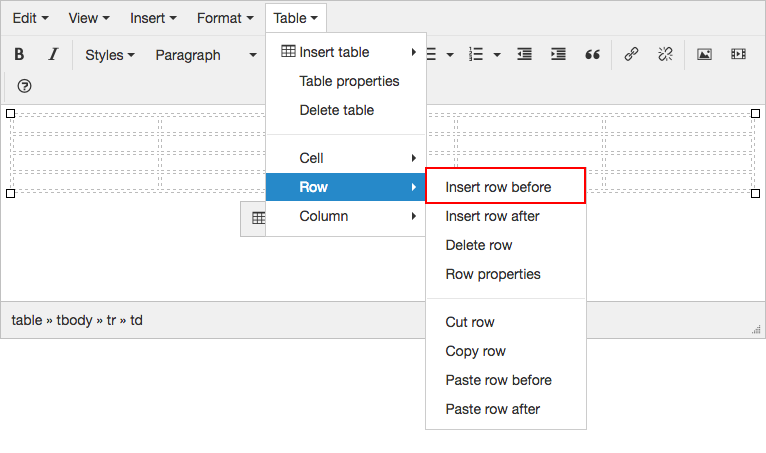
Insert Row Before
To insert a row before a row select the row you want added to and press the Insert row before button.
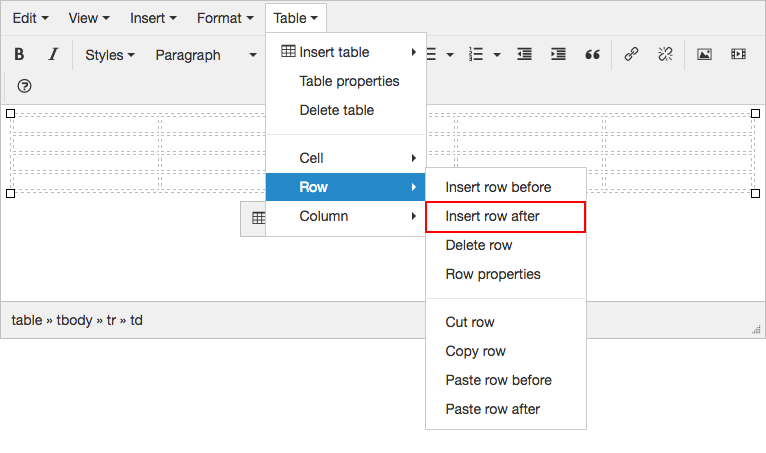
Insert Row After
To insert a row after a row select the row you want added to and press the Insert row after button.
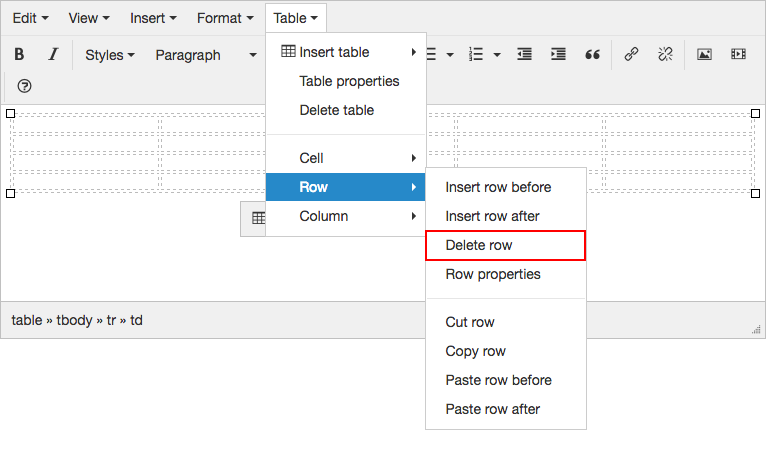
Delete Row
To delete a row select the row you want deleted and press the Delete row button.
Row Properties
To edit the row properties select the row you want edited (or click anywhere within a cell in that row) and click the Row properties button.
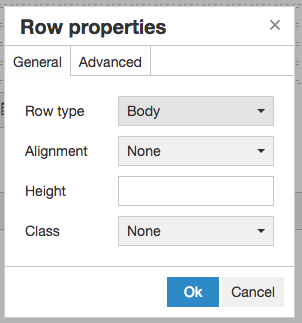
Row type
The Row type field sets whether the row is part of the table body, is a table header row or is a table footer row.
Alignment
The Alignment field sets the alignment of the content within the row.
Height
The Height field let’s you specify a specific pixel height of the row. It’s recommended to leave this field blank unless you have a good reason to specify a row height.
Class
If you have set up one or more Table Row Classes under Editor Settings then you will also see the Class field. You can pick a class to apply to the table cell. This will set the class table row tag attribute value.
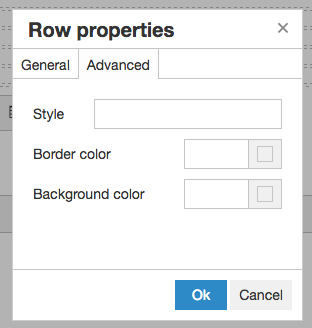
Advanced Tab
Under the Advanced tab you can specify custom styles for the table row tag as well as the border and background styles.
Note that best practices are to configure styles for your table rows within the stylesheets for your website instead of configuring them for a single table row.
Style
The Style field will show any styles set by other table row property fields. You can also enter your own custom CSS styles.
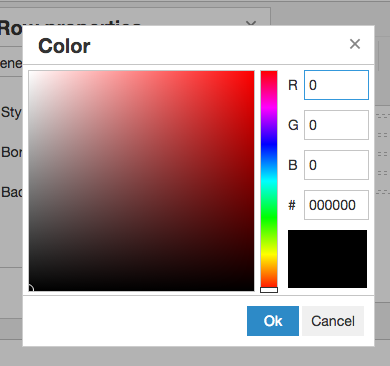
Border color
You can specify a specific hex color to use for the table row border. Or you can click the gray box next to the field to pick a color.
Background color
You can specify a specific hex color to use for the table row background. Or you can click the gray box next to the field to pick a color.
Cut Row
To cut a row select the row you want cut and press the Cut row button. You can then paste the row somewhere else in the table.
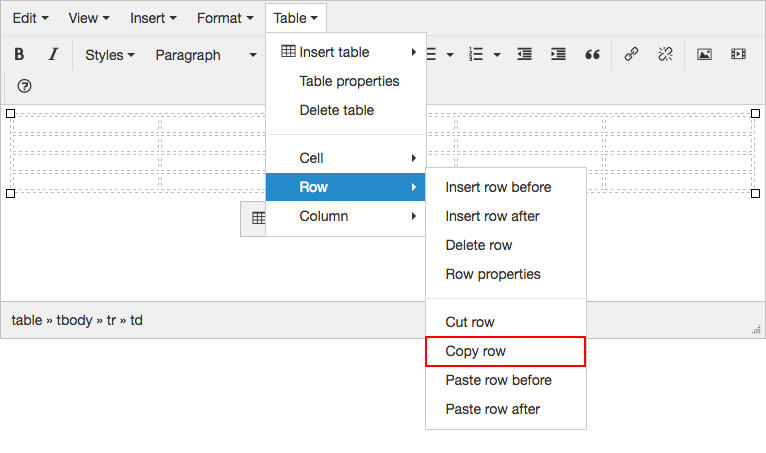
Copy Row
To copy a row select the row you want copied and press the Copy row button. You can then paste the row somewhere else in the table.
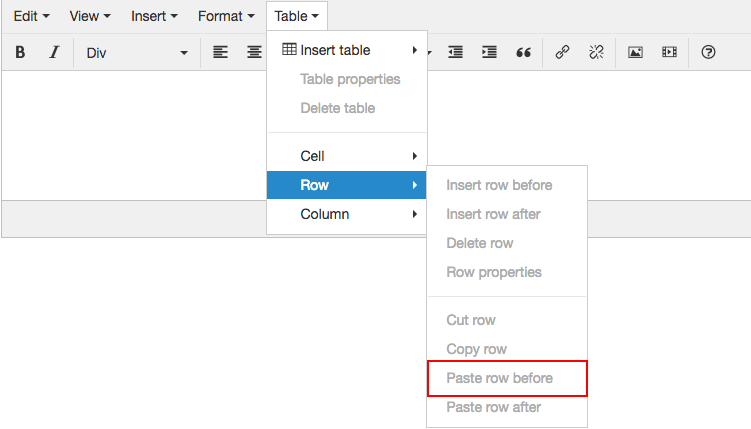
Paste Row Before
To paste a row before another select the row you want to past before and press the Paste row before button. You must copy or cut the row first.
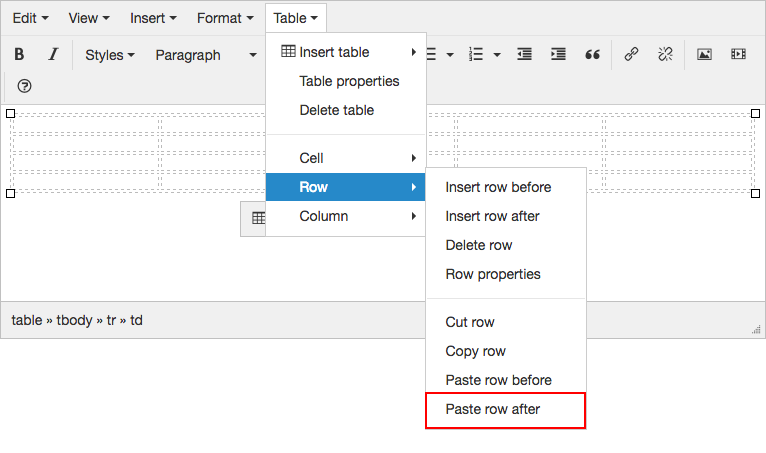
Paste Row After
To paste a row after another select the row you want to insert after and press the Paste row after button. You must copy or cut a row first.
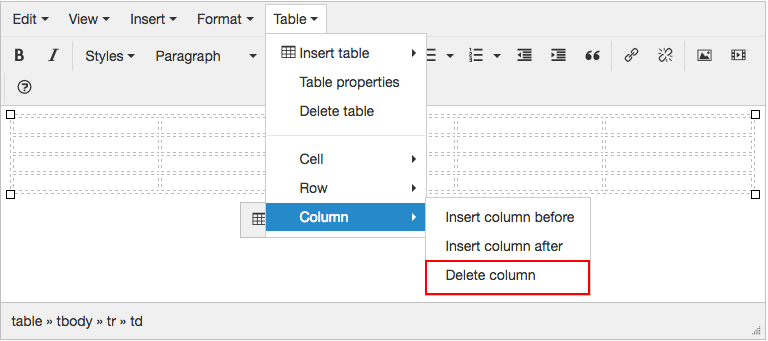
Column
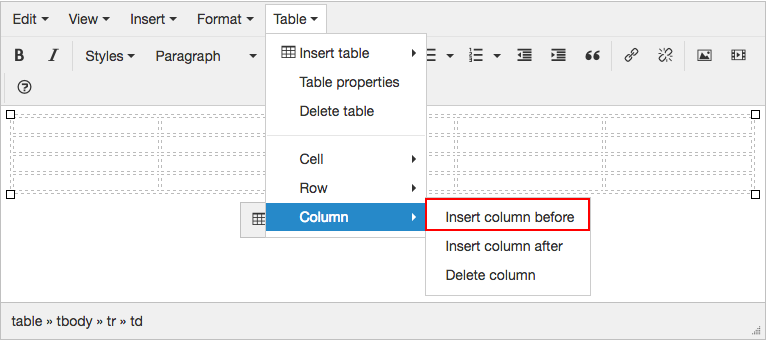
To open the column tab, open the Table dropdown menu and highlight Column.
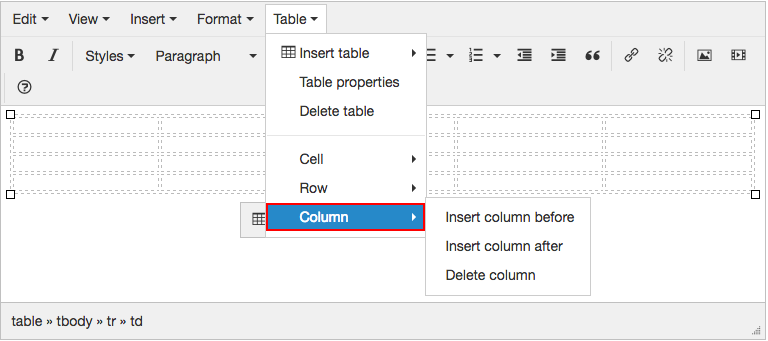
Insert Column Before
To insert a column before another column select the column that you want to insert before to and press the Insert column before button.
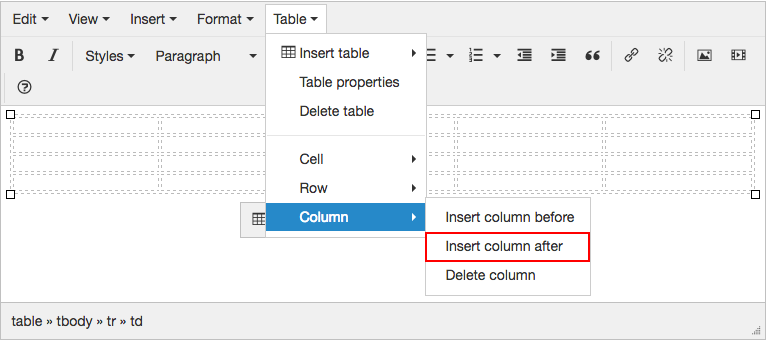
Insert Column After
To insert a column after another column select the column that you want to insert after to and press the Insert column after button.
Delete Column
To delete a column select the column you want deleted and press the Delete column button.