Registration Forms
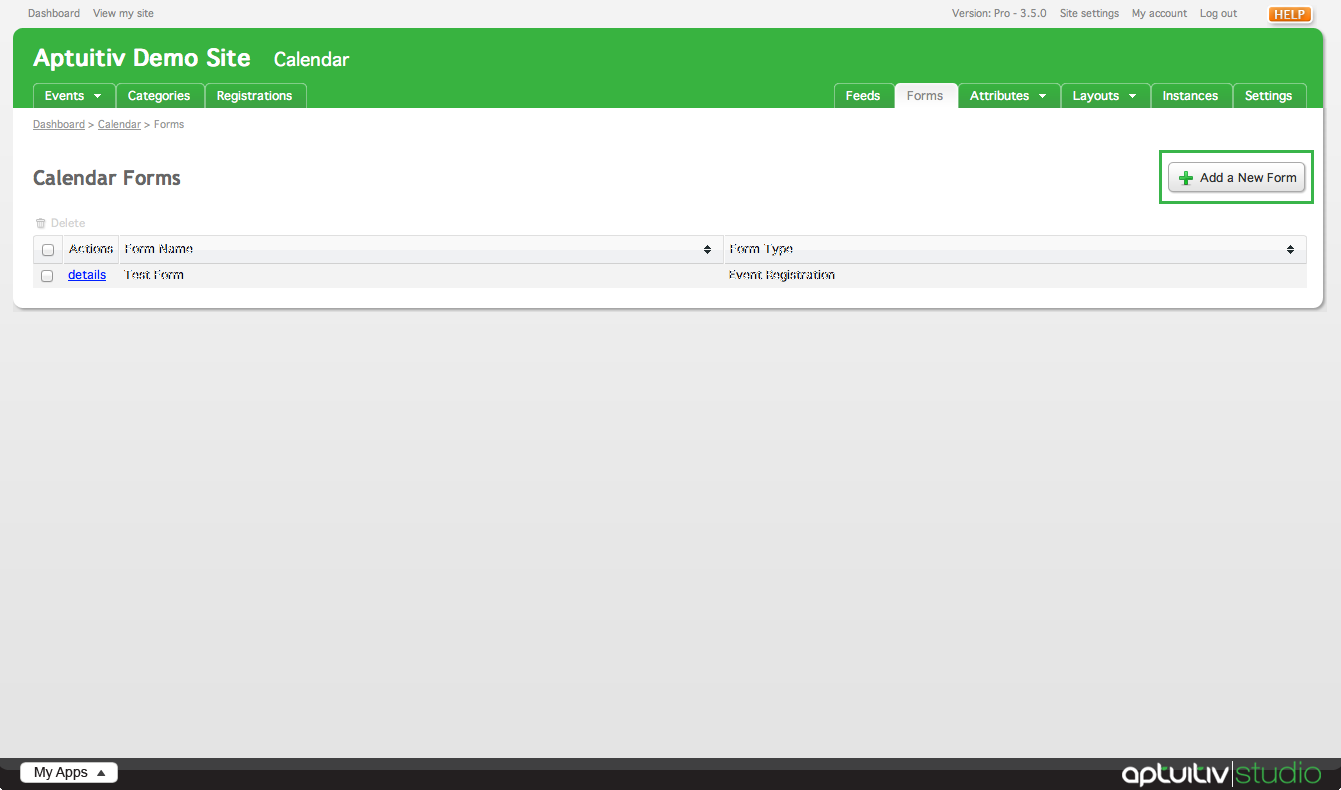
To enable event registrations, first you have to set up a registration form. To do this, click Forms under the Calendar section in My Apps.

Here is where your calendar forms will be listed.
Creating a Form
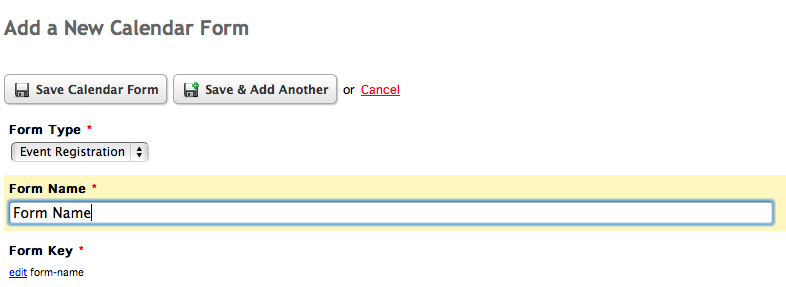
To create your calendar form, click Add a New Form in the top right corner of the Calendar Forms window.
In the Add a New Calendar Form window, give your calendar a name and click Save Calendar Form.
After you've saved your calendar form, you'll be redirected back to the list of forms. Events now have the ability to accept registrations. For more information on how to enable registrations for your events, visit the events documentation.
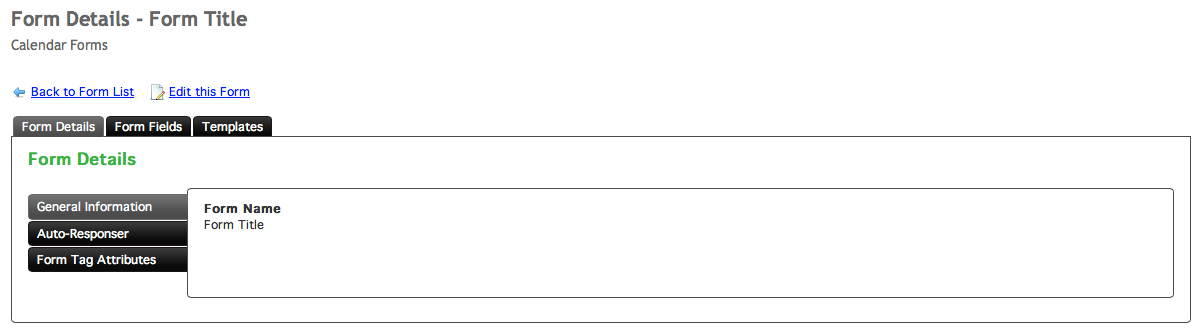
Form Details
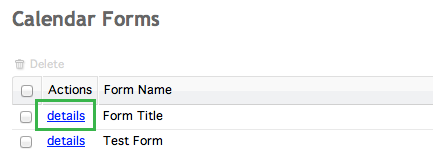
To view details about a form, click details to the left of the corresponding form name.
This will show the details for the form you've selected. In this window you can see what attributes the form currently has.
General Details
The Form Details tab shows general information about the form, in addition to auto responder settings and attributes given to the form tag.
Form Fields
The Form Fields tab lists the default fields assigned to registration forms when they are created.
To add more fields to the form, click Add a New Field in the top right corner of the Form Fields window.
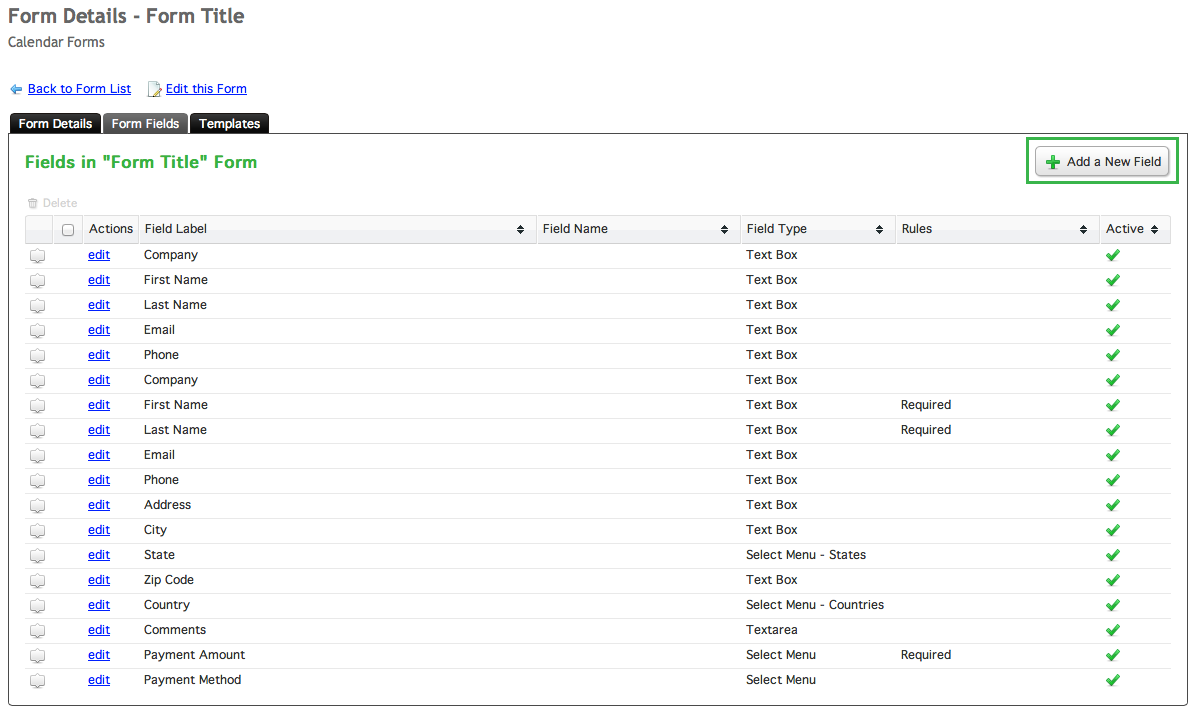
The fields listed in the image above are automatically generated when a form is created and cannot be deleted.
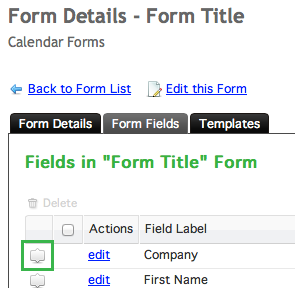
Editing Fields
Fields can be edited by clicking edit to the left of the corresponding field.

Rearranging Fields
The order of the fields can be rearranged by clicking the sort icon to the left of the fields and dragging them to the desired location.
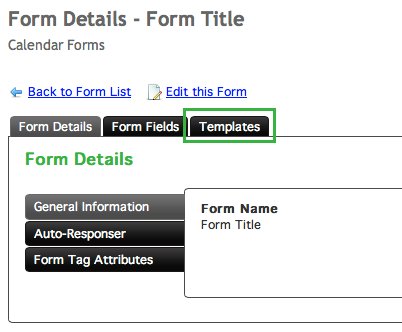
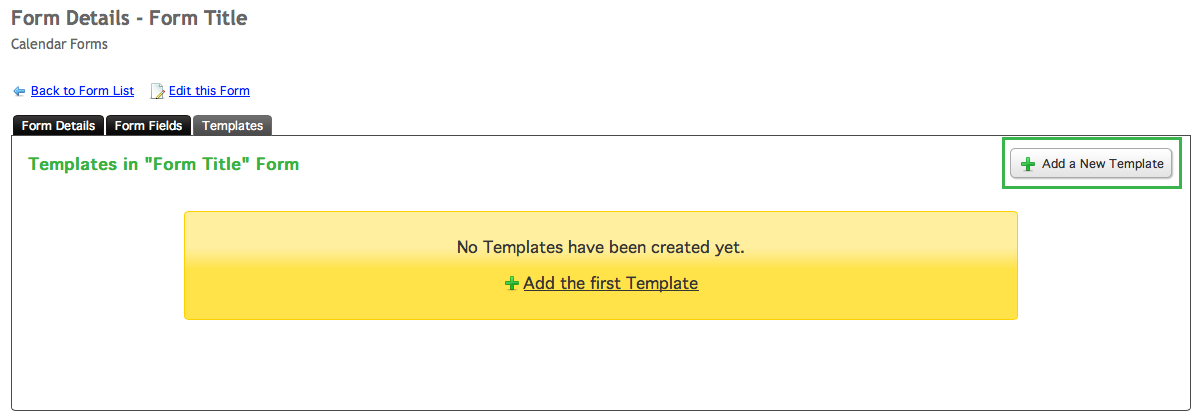
Form Templates
Templates for the form can be viewed and edited by clicking the Templates tab.
To add a new template, click Add a New Template in the top right corner of the templates window.
Form Types
There are two types of registration form templates.
The Registration Form template is used to display the registration form to someone who wants to register for an event.
The Registration Receipt form template is used to show all the information that the user input after they have filled out the registration form.
Editing Forms
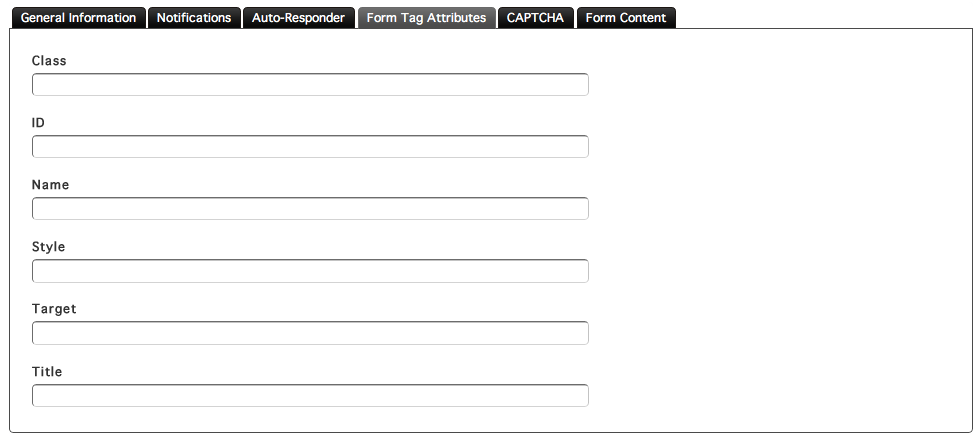
In the Edit Form window, there are six tabs containing settings that you can change on your form.
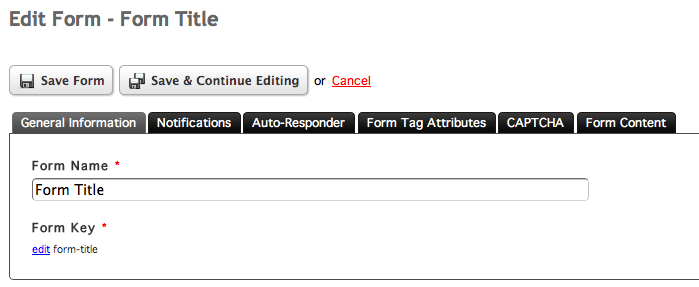
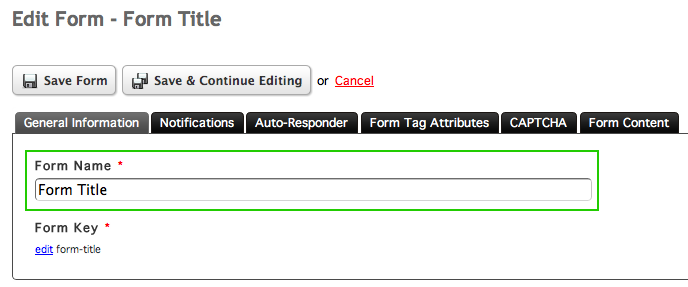
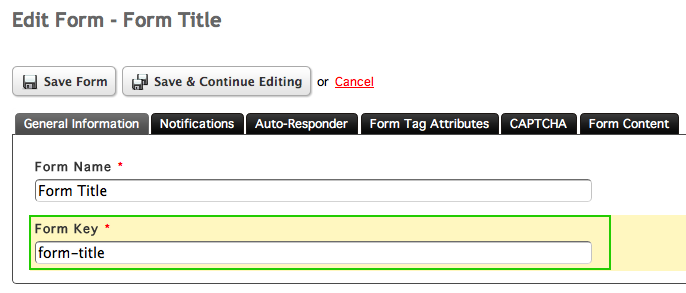
The General Information tab contains the Form Name and Form Key settings.
To edit the Form Name, type in the text field provided.
To change the Form Key, click edit. This will bring up a text field.
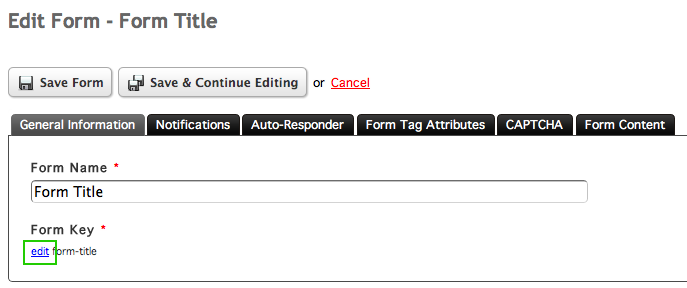
Enter in your desired form key into the field provided.
Notification settings
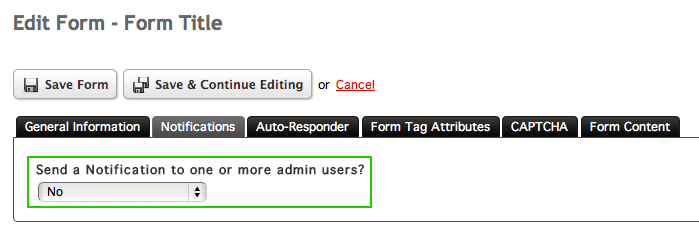
Notifications can be sent to admin users when a form is completed. To access the notification settings, click the Notifications tab.
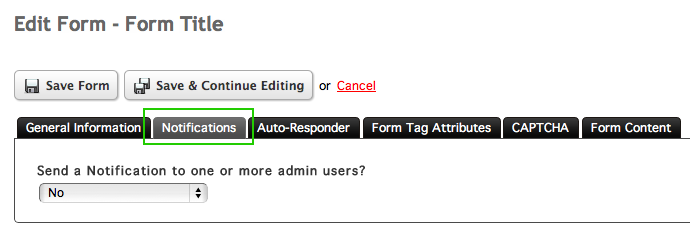
By default, notifications are disabled. To enable them, choose Yes, send a notification from the select menu in the Notifications tab.
This will bring up fields that control how the notification email will look, who it is sent to, and who the email is sent from.
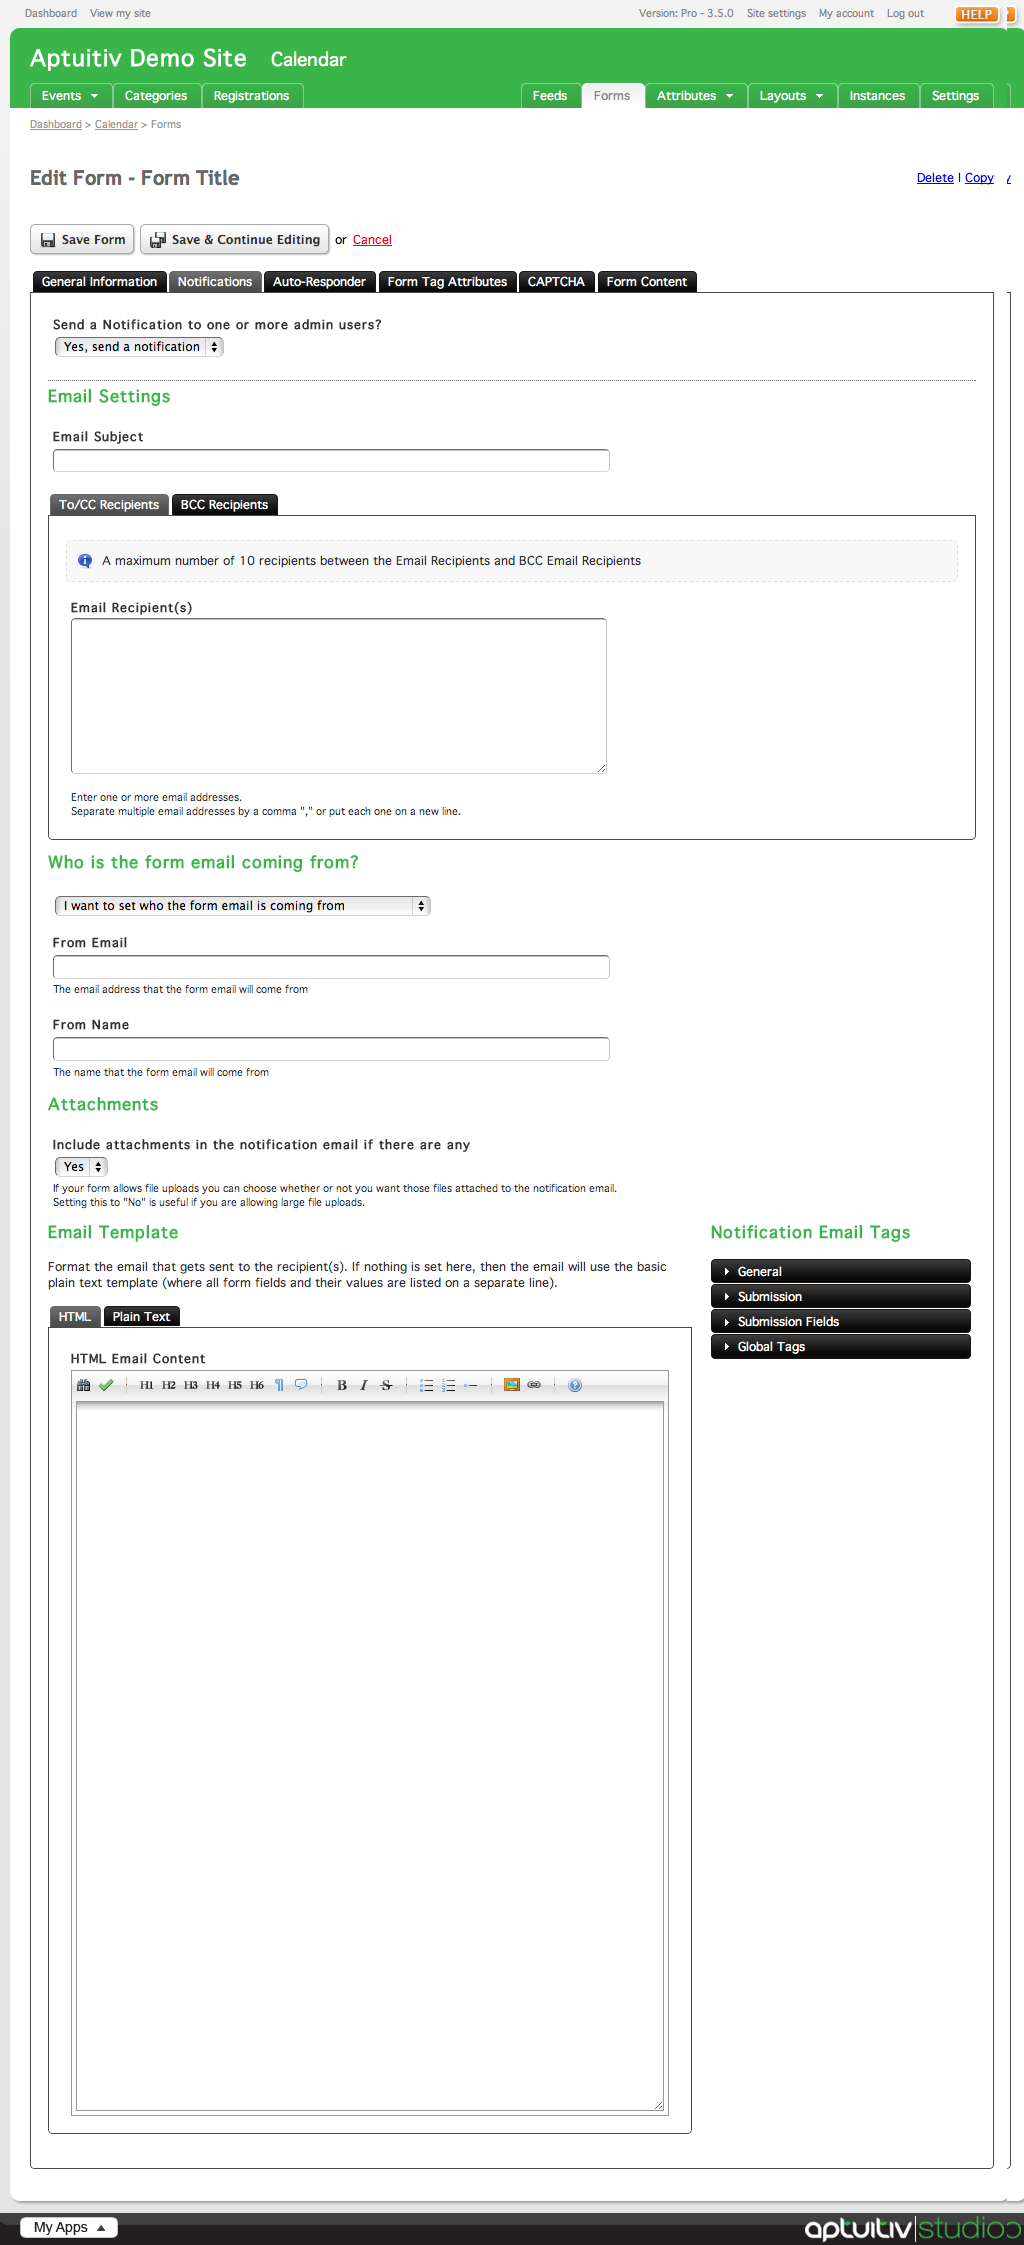
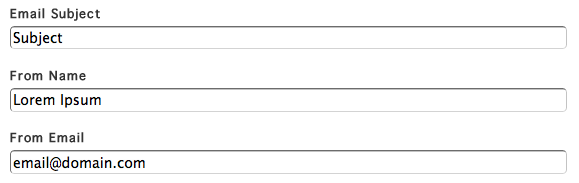
To set the subject of the notification email, type in the Email Subject field.

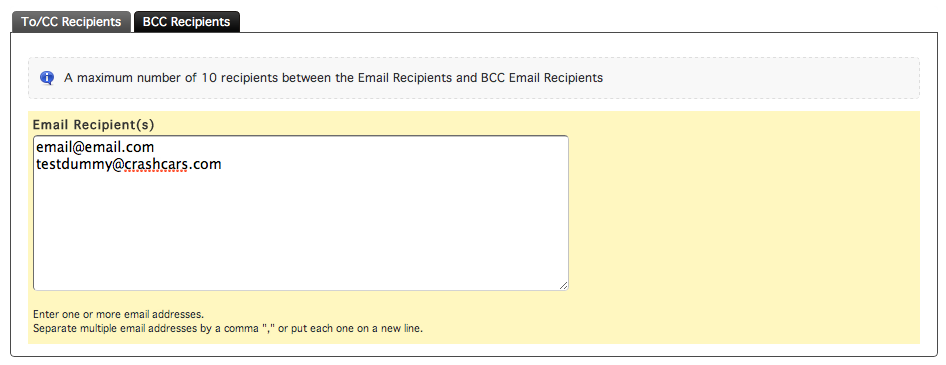
Recipients for the email notification can be sent by entering email address into the Email Recipients field, under the To/CC Recipients and BCC Recipients. Up to ten people can receive email notifications.
If multiple people are receiving notification emails, separate email addresses with a comma or on a new line.
Email "From" Settings
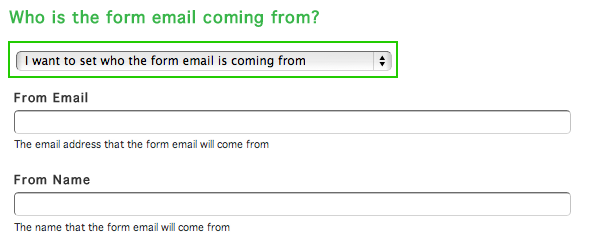
Notification emails can be set to send from a predefined email address or it can be set to send from the email address that the user inputs when they are filling out a registration form.
To change this setting, choose a value from the select menu under Who is the form email coming from?
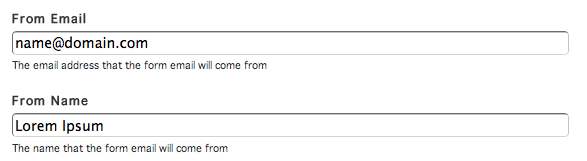
If you choose to set who the email is coming from, enter in an email address into the From Email field and a name in the From Name field.
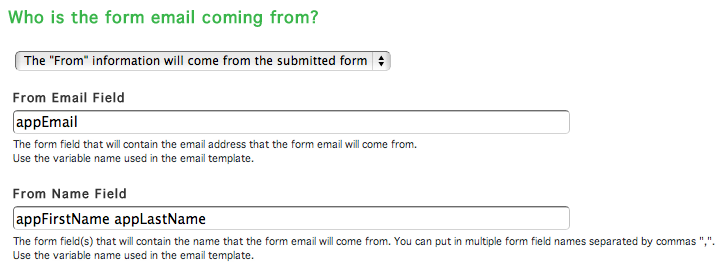
If you choose to have the email come from the address the user entered into the registration form, choose The "From" information will come from the submitted form option in the dropdown menu.
The email address is set by a variable used in the registration form template. By default, the email information is contained in the appEmail variable. Insert this value into the From Email field.
You can also set the name of who the email is coming from by using the variables to insert the name into the From Name field. By default, the name(s) are contained with in the appFirstName and appLastName variables. Insert one (or both) of these variables into the From Name field.
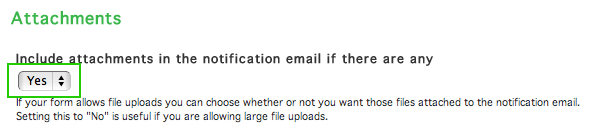
Attachments
If your form allows attachments to be uploaded, they will be attached to the notification email unless attachments are disabled.
To disable attachments, choose No from the select menu under the Attachments section.
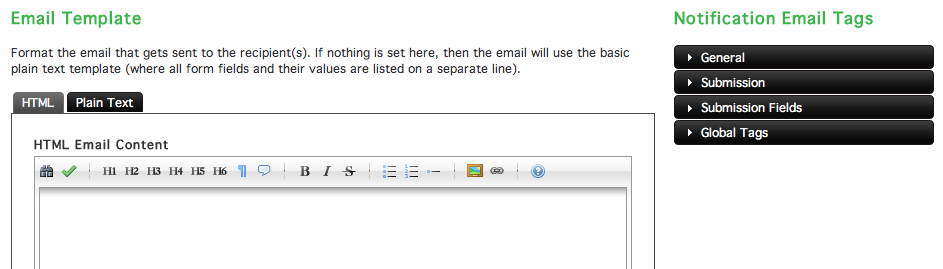
Email templates
Email templates for the notification emails can be created by inputting content into the rich text editor under the Email Template section of the notification window.
If no content is entered into the editor, the notification email will contain all information entered into the registration form fields on separate lines.
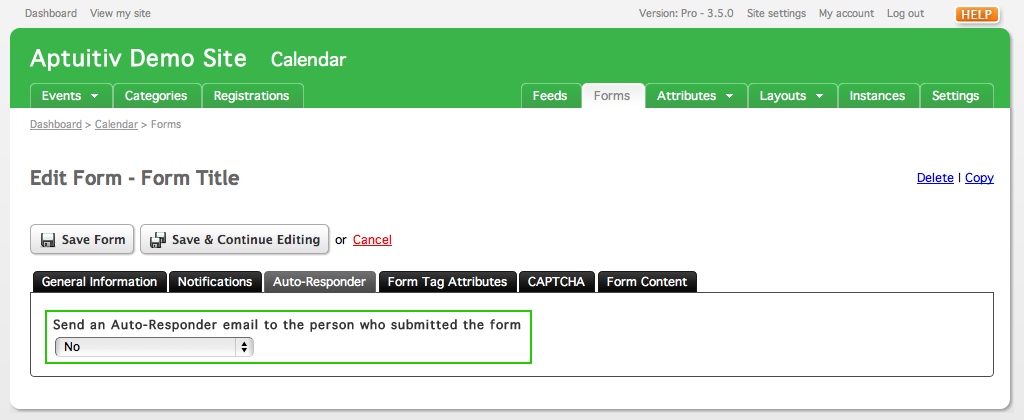
Auto responder
An auto responder sends an email to the user who just filled out the form as a confirmation. To change Auto-Responder settings, click the Auto-Responder tab.
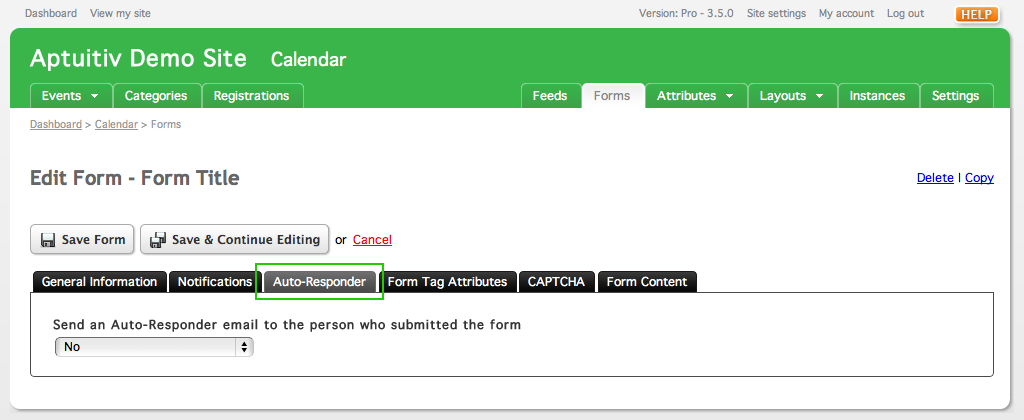
By default, the auto-responder feature is disabled. To enable it, choose Yes, send an auto responder from the select menu under the Auto-Responder tab.
Similar to inserting the variable into the From Email field in the notifications section, you can set who the auto responder sends an email to by entering the variable name into the field.
By default, the variable name is appEmail. Insert this into the text field under The Form Field that the Email Address comes from.

You can set the email subject, from name, and from email in the fields below the address field. The From Email value must be a valid email address.
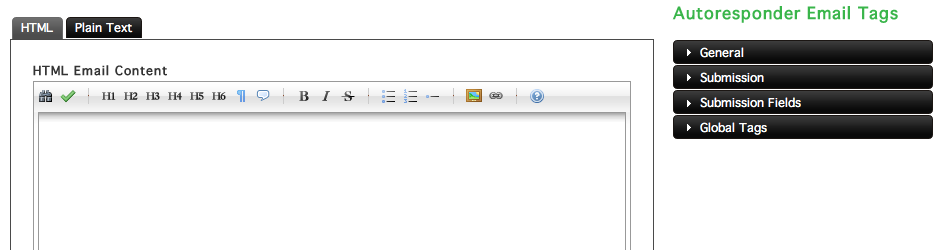
Auto-Responder Template
Similar to an email template for the notification emails, you can create a template for the auto-responder email by inserting content into the editor at the bottom of the Auto-Responder window.
Form Tag Attributes
The form tag can be given attributes to make it easier to style or target with javascript by inserting values into the fields under the Form Tag Attributes tab.
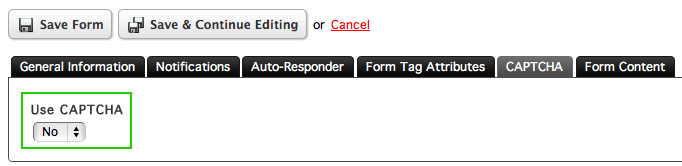
CAPTCHA
CAPTCHA can be enabled on the form to help prevent spam from being input into the registration forms.
To enable CAPTCHA for your form, choose Yes from the select menu under the CAPTCHA tab.
For more information on configuring the CAPTCHA, view the CAPTCHA documentation.
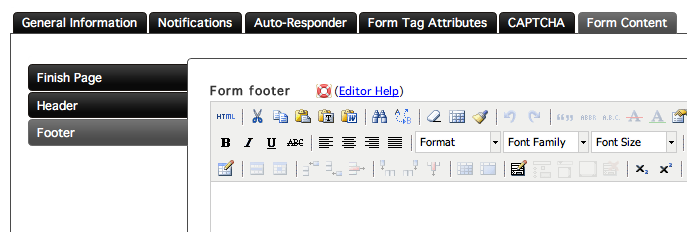
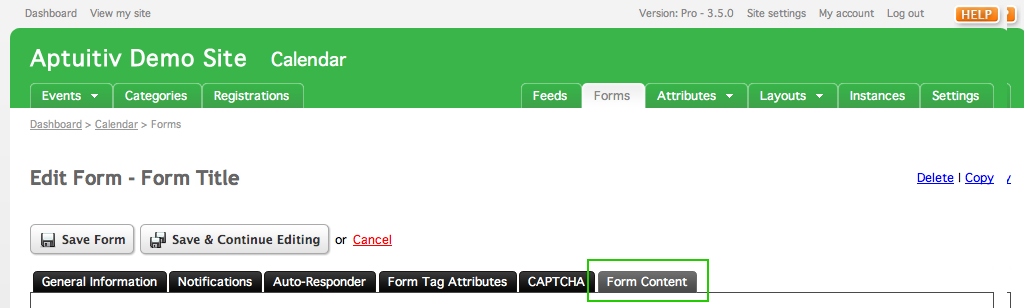
Form Content
The Form Content tab contains editors that can be used to input content into the registration form templates to be shown to users viewing the registration form.
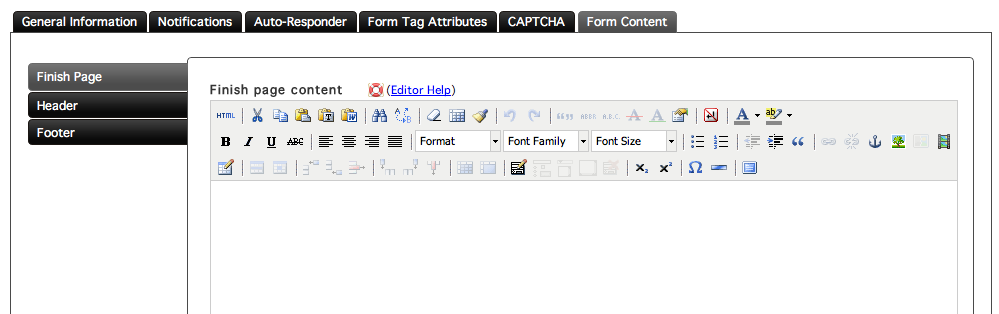
Finish Page
Content in the Finish Page editor can be used in the template to show when the user successfully fills out the form.
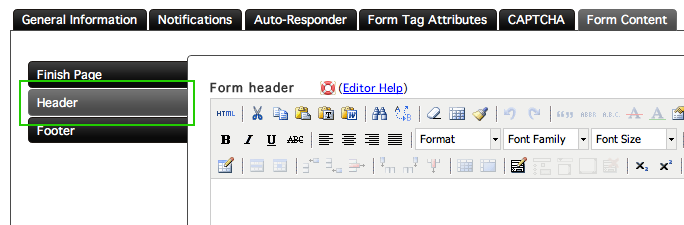
Header/Footer
The Header content can be used to show content before the form. Content entered into the editor in the Header tab is put into a variable that can be placed in a form template.
To add content to the form header, click the Header tab on the left side of the Form Content window.
Similarly, the Footer editor can be used to place content at the bottom of the form. Content entered into the Footer is put into a variable that can be placed in a form template.
To add content to the form footer, click the Footer tab on the left side of the Form Content window.