Password Protected Directories
If you want to password protect multiple pages on your website or password protect an entire app then Password Protected Directories is what you will want to use.
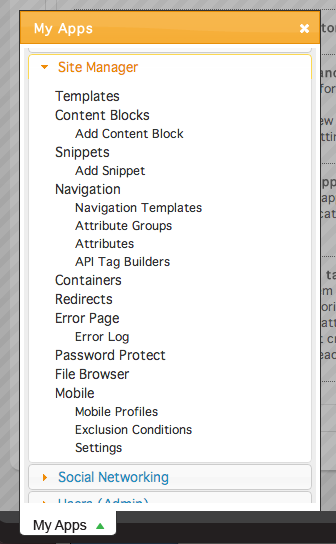
To do this, click on Password Protect under the Site Manager app in the My Apps menu.
Note that since nearly all content for a website is stored in a database there aren't physical directories for pages or apps. Password Protected Directories in esense really just password protects a URL path. This will not, however, password protect a physical directory where files like images or documents are stored.
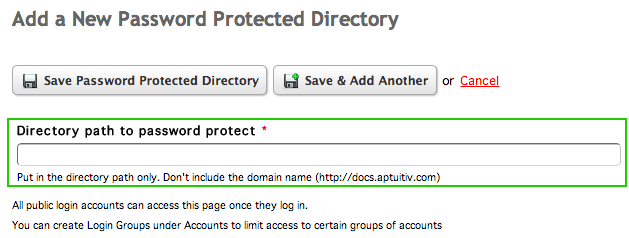
To set up a new directory to be password protected, click the Add a New Password Protected Directory button.

In the Add a New Password Protected Directory window, add the directory that you want to be password protected in the Directory path to password protect field.
When a directory is set to be password protected, it affects that first level of the defined directory as well as the subpages of that directory. For example, if you wanted to password protect the blog posts on your site, instead of using an individual directory for each post, you could type /blog to password protect the entirety of the blog app.
 <
<

Likewise, if you want to password protect your entire site, type a single slash (/) into the field to protect every page.
Setting up a password protected directory means that a user will have to log in when they first access the page. If Automatic Logins via IP Address are enabled, the directories you create can be set to allow automatic logins from certain IP addresses. By default, this feature is enabled if it is enabled under Accounts. To disable it, select No from the Allow logging in automatically via IP address menu.

For more information about automatic logins via IP address, read the Automatic Login via IP Address documentation.