Submission Notifications
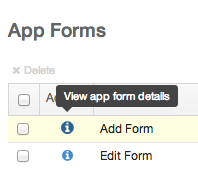
To be notified when an item is submitted, first you have to view the details of the app form that is being used.
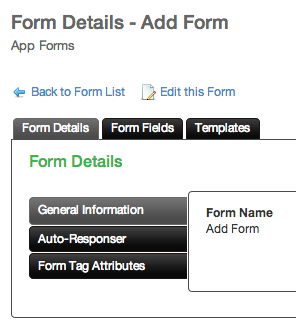
When at the details view, click on Edit this Form to go to the edit screen.
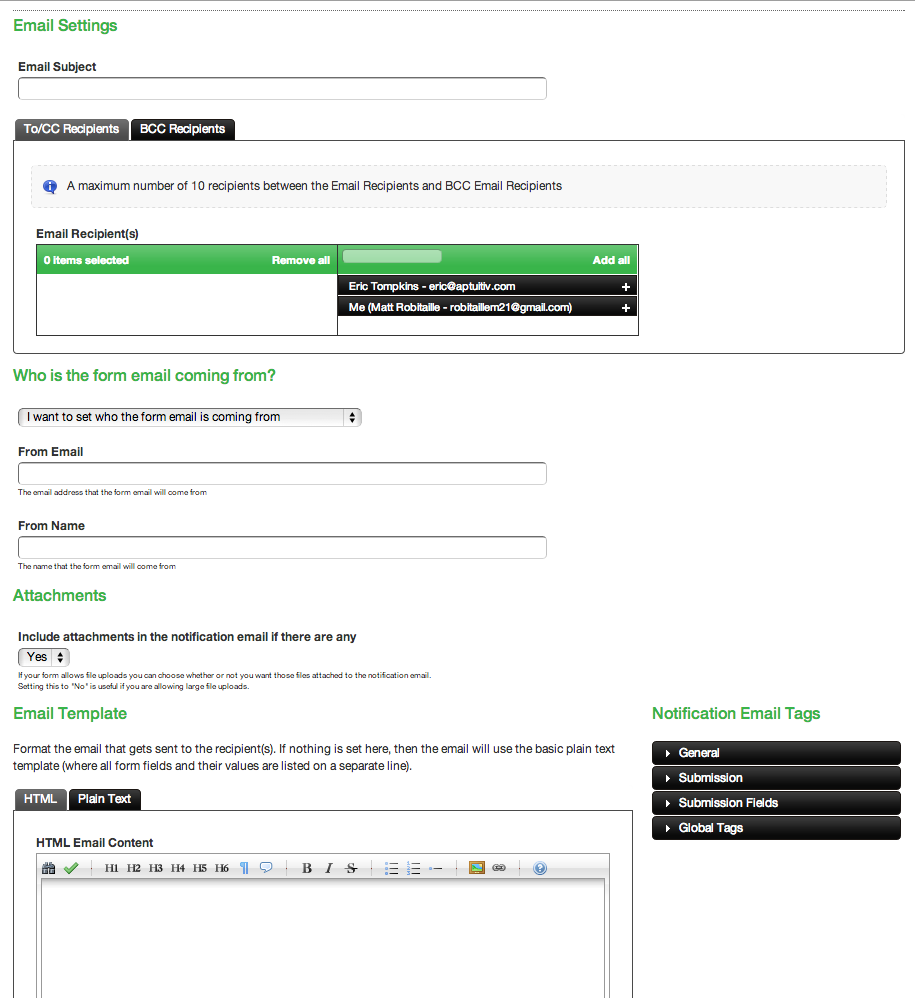
At the edit screen click on the Notifications tab. Change the select menu under Send a Notification to one ore more admin users to "Yes".

Doing this shows fields that allow you to configure the email that is sent and who it is sent to.
Configuring the Email
Subject
Set an email subject by adding a value to the Email Subject field.

Recipients
Admin users are the only users that can receive a notification of an item submission. Choose a user from the multi-select menu by dragging the users' bars to the left side of the box or by clicking the plus (+) symbol. Remove them by dragging the bars to the right side or clicking the minus (–) symbol.
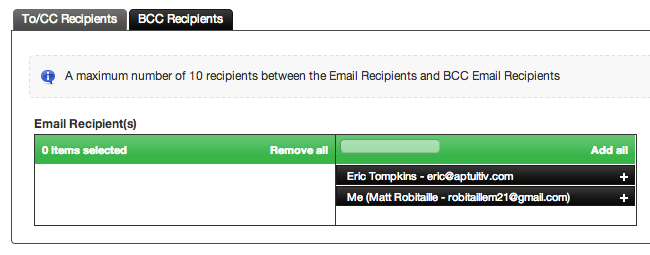
If you would like to send blink carbon copy (BCC) emails, meaning those who receive the email can't see who else received the same, click the BCC Recipients tab and repeat the process of adding admin users in the multi-select box.
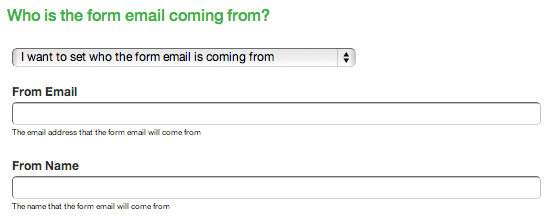
Email "From" Settings
You can set who the email is coming from two different ways. The first way is to set a static email address and name that sends the email. Typically, automated emails like this are sent from an address that indicates that there will be no reply if the email is responded to; i.e. noreply@email.com. You can set this by adding the address and name you'd like to be the sender in the From Email and From Name field.
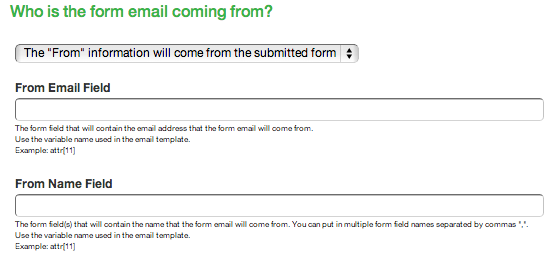
It's also possible to have the email be pulled from a value that is entered when the user fills out the form; instead of the email coming from a noreply@email.com address, it could come from the actual email that the user entered. This is useful if you plan on replying to the user who filled out your form.
To do this, select the The "Form" information will come from the submitted form option from the select menu under Who is the email coming from? In the fields below the select, enter the attribute name that you will get the values from, like emailAddress or name.
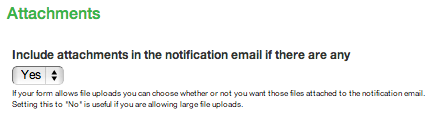
Attachments
If any attachments are submitted with the form through a file upload field, they will be included with the email by default. If you'd like to disable this functionality, select No from the select menu under Include attachments in the notification email if there are any.
Email Template
You can create a custom template for the email by adding content to the editor under Email Template. You can choose to send an HTML or Plain Text email by entering content into the editors in their respective tabs.
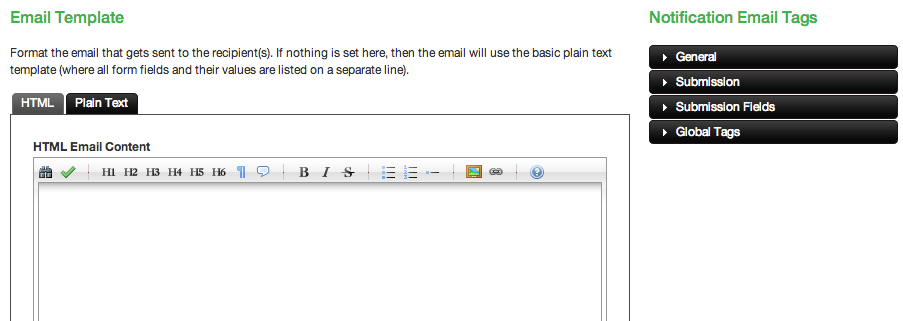
Branch code is used to pass through the information from the form to the email. You can see what tags are available for you to use by expanding the menus to the right side of the editor.
This is very similar to creating content templates. View more information on content templates.