Adding a Container
Adding Containers
To add a container to your site, click Containers under the Site Manager section in the My Apps menu.

This will show a list of the containers currently on your site.
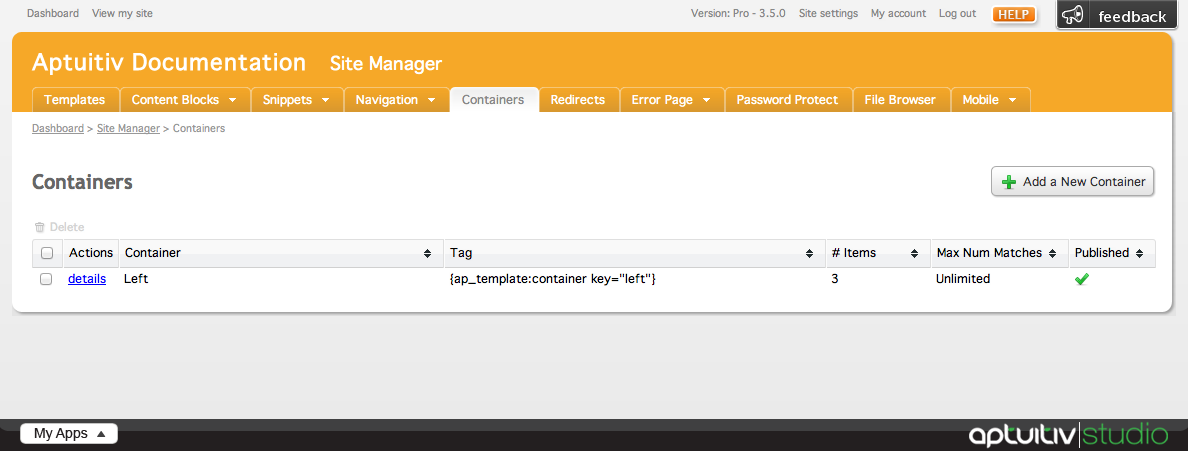
To add a new container, click Add a New Container in the top right corner of the Containers window.
![]()
General Information
In the General tab, give your container a name using the Container Name field.

The Container Tag is the API tag that you will use to place your container in a template. When a container is created for the first time, the key within the API tag is changed dynamically based on what the name of the container is. If you want to change the key, click edit to the left of the container tag.
![]()
Clicking edit will show a textfield that you can insert a string into. Only lowercase alphanumerical characters are allowed (a-z, 1-9). Any uppercase letters inserted will be automatically changed to lowercase, and any spaces inserted will be deleted.

Containers can have many different items within them, which means that those items within the container can have multiple matches. If you want your container to stop finding matches after a certain number has been met, insert a value higher than 0 into the Maximum Number of Matches field.
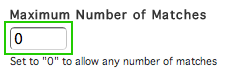
By default, the field is set to 0, which allows any amount of matches.
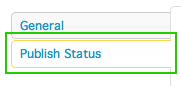
Publish Status
Similar to publishing blog posts, gallery items, and other items within Branch, Containers have the ability to be Published, Published Later, or Not Published by changing the settings within the Publish Status tab.
By default, a container is set to be published as soon as it is created. A container can be set to be published later or not published by choosing a value from the Publish Status select menu.

If you choose Publish Later, choose a date and time from the Publish Date menus by picking values from the select menus.

Instead of picking a date using the select menus, you can use the date picker by clicking the calendar icon to the right of the date select menus.
![]()
Clicking this icon will bring up the date picker. Choose a date from the date picker by clicking on the day.
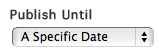
Containers can be set to be published for a limited amount of time. By default, a container will stay published until it is manually unpublished. To set a container to be automatically unpublished after a certain date, choose A Specific Date from the Publish Until select menu.
Choosing an Expiration Date follows the same process as choosing a Publish Date.
