Inserting and Editing Images
Insert an Image
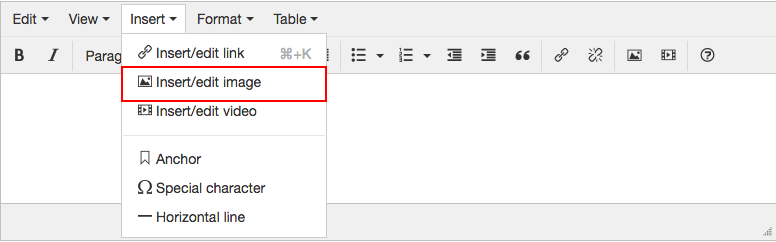
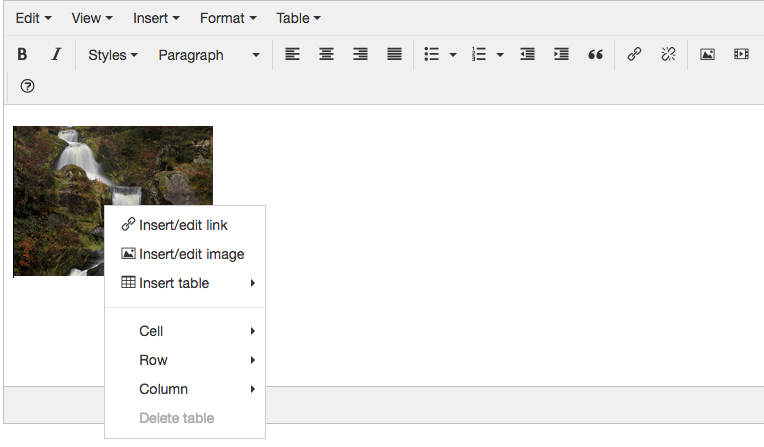
To insert an image in the editor, put your cursor where you want the image placed and click the Insert/edit image button. Or select the Insert/edit image button under the Insert tab. You may also right click to access the button.

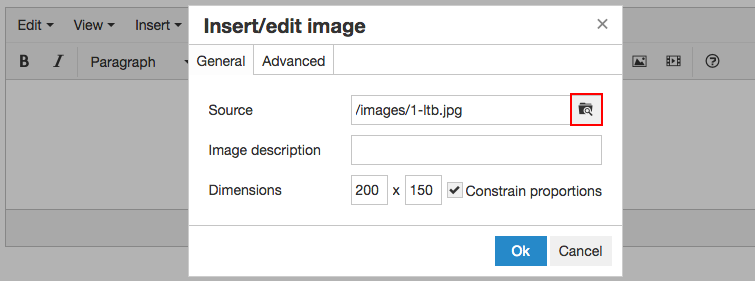
To choose an image, click the browse icon to the right of the Source field on the pop up.
This will take you to the file browser.
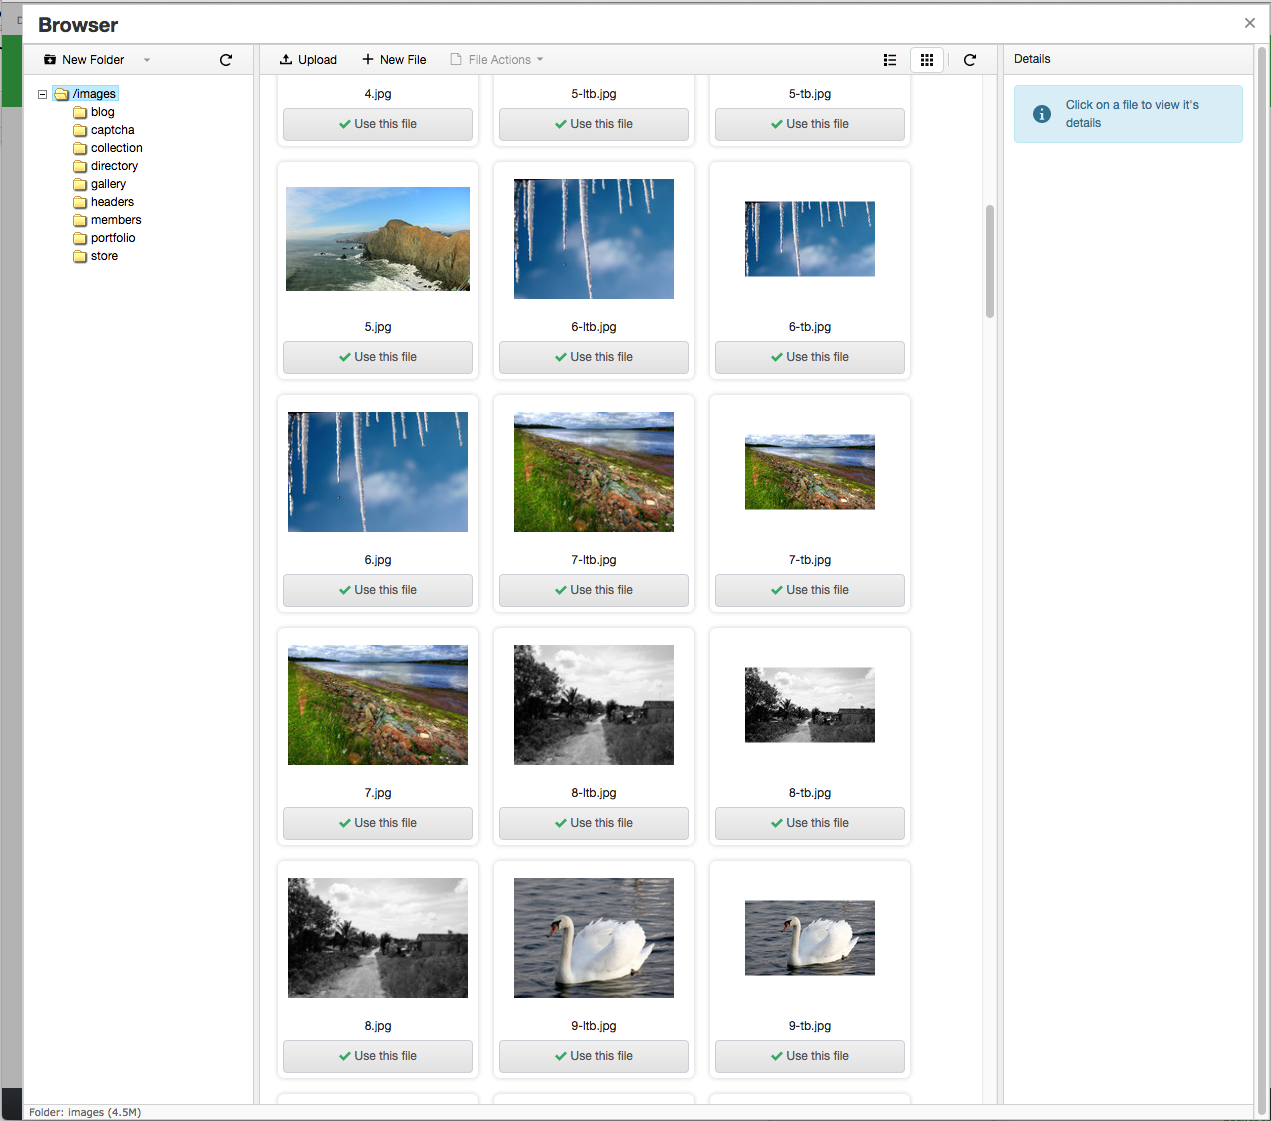
For a more detailed explanation of the file browser, visit the File Browser Documentation.
From here, you can either choose an image that has already been uploaded to your website or you can upload a new image.
To upload an image, click the Upload button in the top left of the file browser.
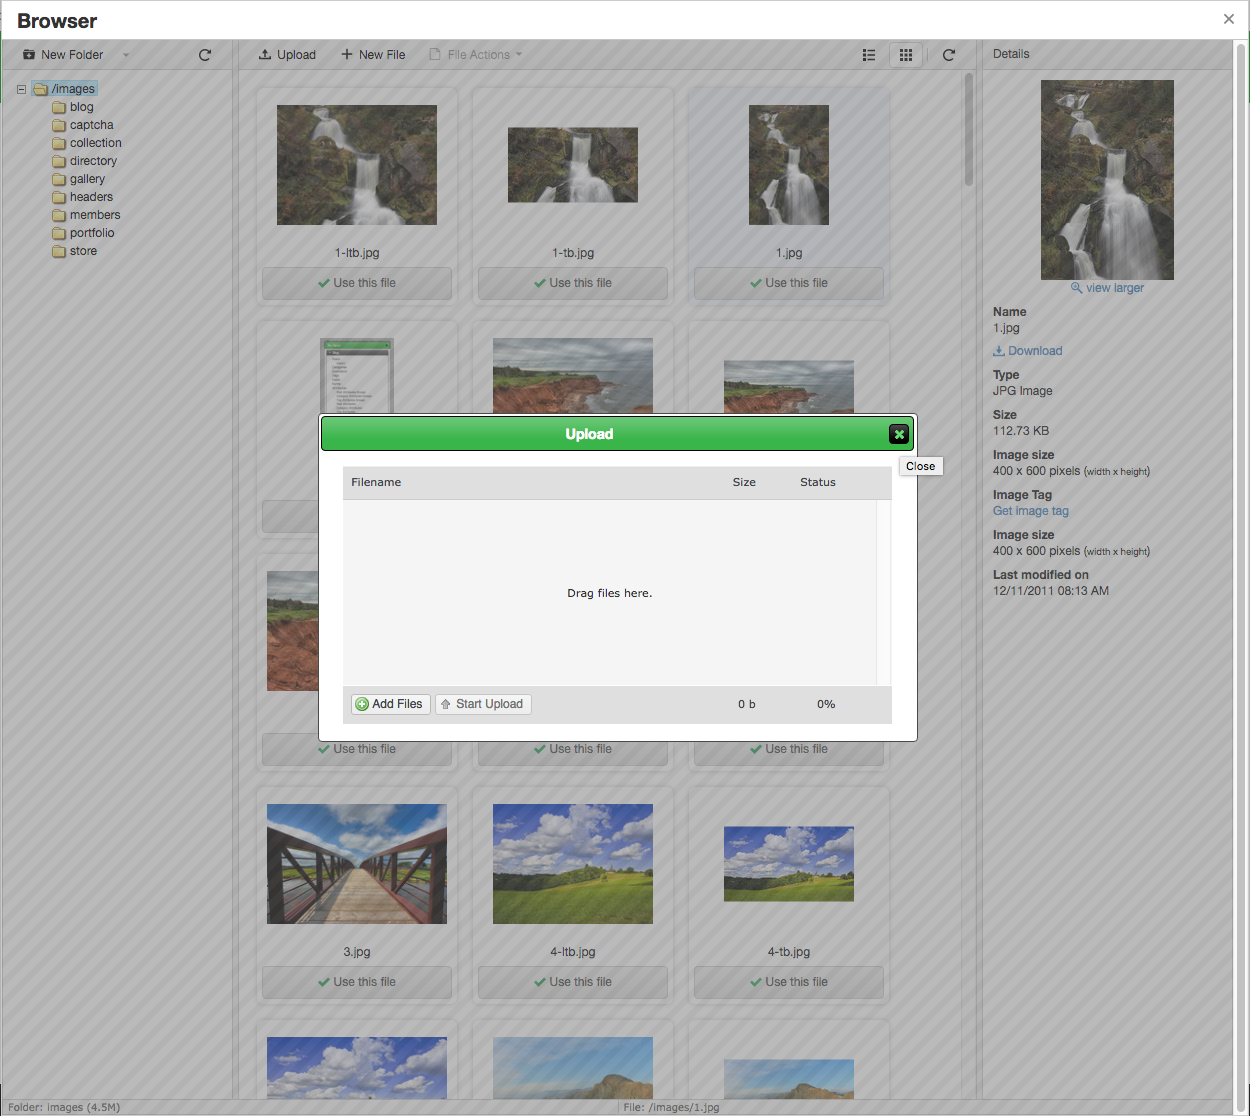
The Upload window has two buttons - Add Files and Start Upload.
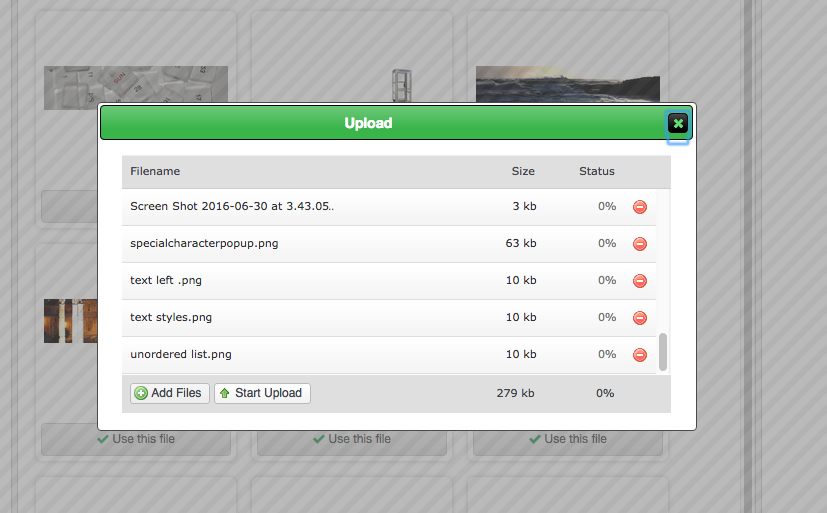
Click on Add Files to choose one or more files to upload to the server.
After you select the files to upload, click the Start Upload button.
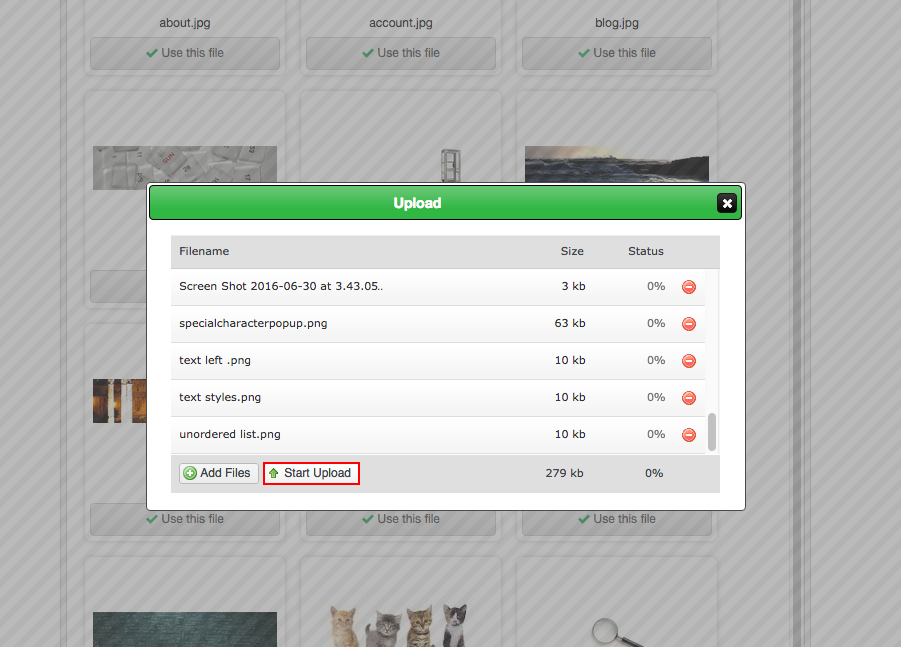
After your images are uploaded, click the View folder contents button to refresh the file browser.
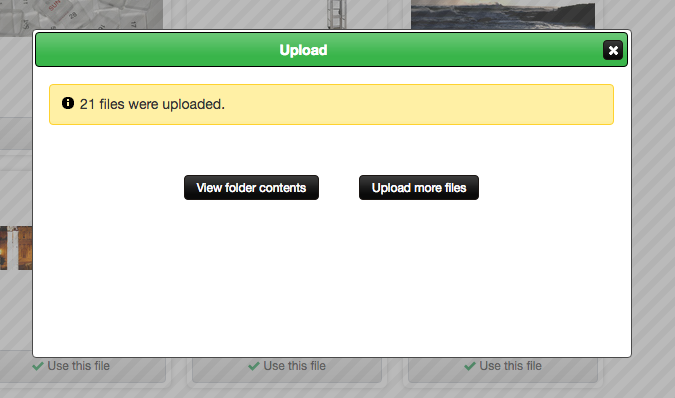
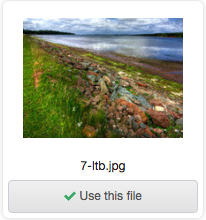
Hover over the file you just uploaded and click the Use this file button.
(If your image is already located on the server, you don't need to upload another one. Just find and hover over the image and click the Use this file button.)
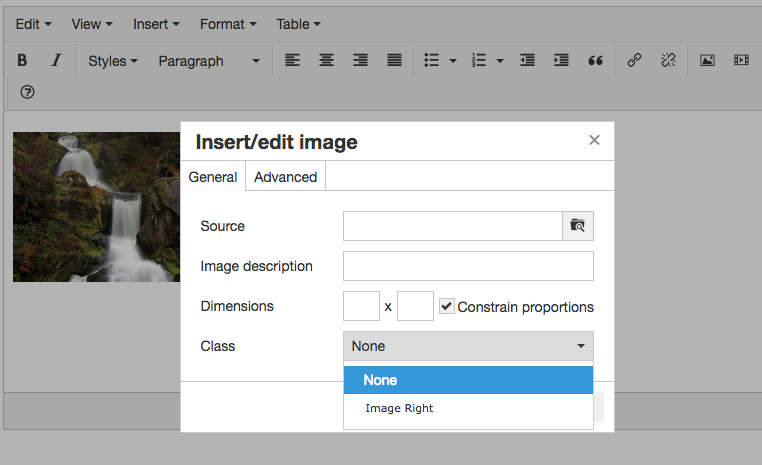
This will bring you back to the Insert/Edit Image window.
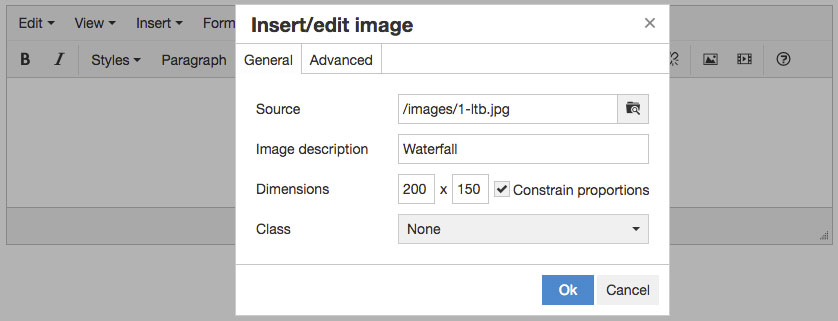
The Image description field holds the “alt” text for the image and is important for usability and search engines. It’s recommended that you write a concise description of the image in that field.
If the Class field is available you can choose one of the classes to apply a custom style to the image.
Once you are ready click the Ok button to insert the image into the editor.
Edit an Image
To edit an image first click on the image and then click on the Insert/edit image button. Or select the Insert/edit image button under the Insert tab.
Changing the image
You can click the Browse icon next to the Source field to choose a different image if you want.
Follow the steps above to pick or upload a different image.
Image Dimensions
Under the General tab, you can edit the dimensions of the image by entering the dimensions (pixels) into the Dimensions boxes.
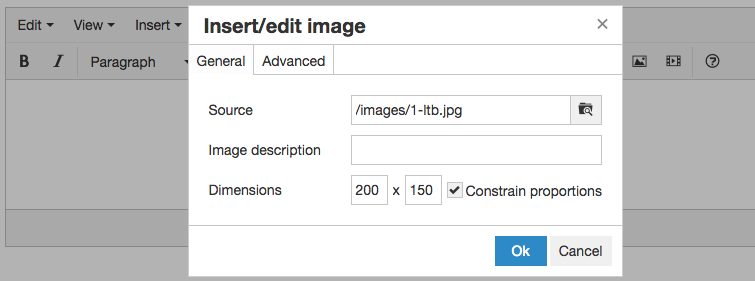
It’s important to note that changing these values only changes the display size of the image. They do not change the actual size of the image. This means that if you have a larger image and you change the Dimensions to be a smaller size, visitors to the page will still have to download the full larger image. It’s recommended to instead crop and resize images before uploading to your website.
You can keep the Constrain proportions checkbox checked to automatically have the height or width change proportionally when the other value is changed.
Image Class
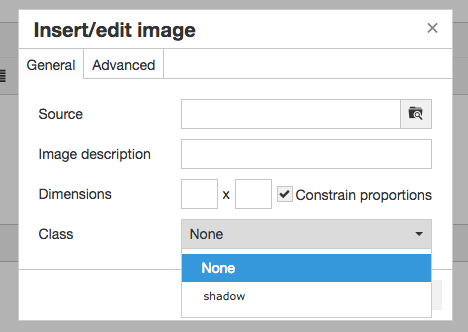
The Class field allows you to pick a style class to assign to the image. This will add a specified CSS class to the class attribute on the image tag that can be used to style the image. The Class field will only show if one or more image classes have been set up in the Rich Text Editor Settings.
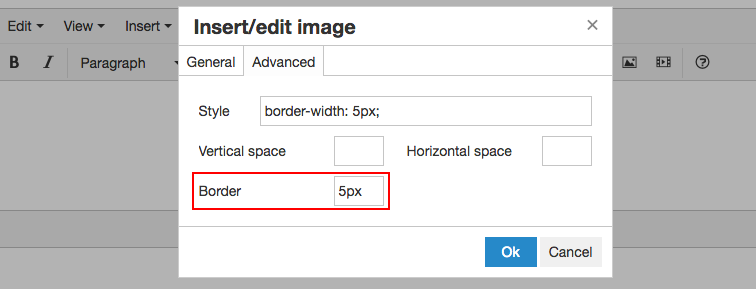
Under the Advanced tab are some additional style options. Here you can change style, vertical space, horizontal space and border width for the individual image.
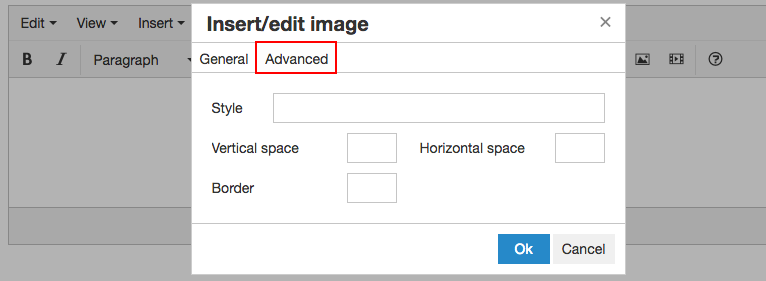
Note that it’s recommended that you use stylesheets and classes to provide styles to images.
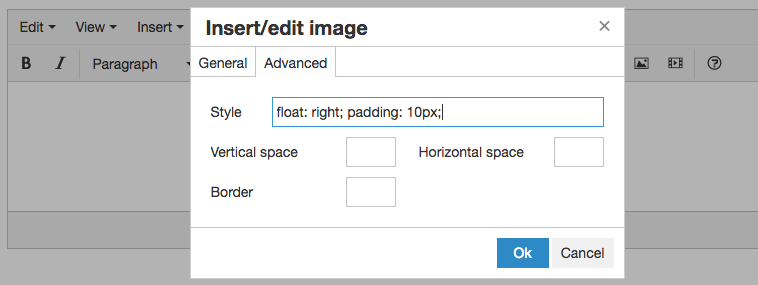
Style
This field will change automatically as you enter vertical space, horizontal space and border width but you may also enter custom CSS into this box to change the style of the image manually.
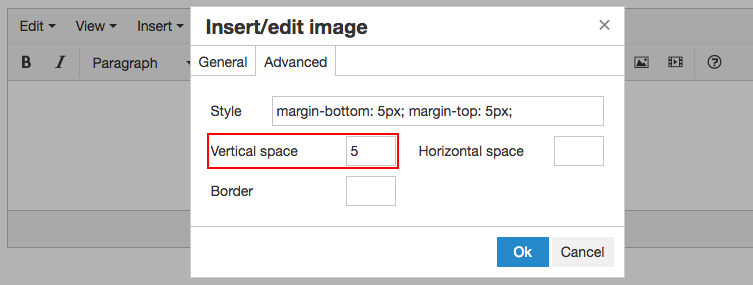
Vertical Space
The Vertical space field will determine how much of a margin you want above and below the image. Determine how much space you would like and enter it into the Vertical space field.
If you enter just a number then pixels will be used as the unit. You can specify a unit such as “em”, “px” or “rem” to use.
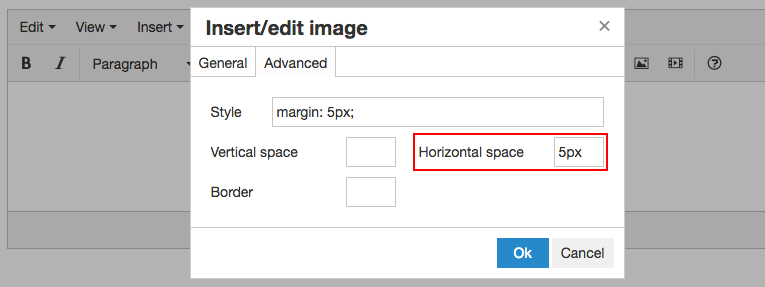
Horizontal Space
The Horizontal space field will determine how much of a margin you want on the left and right of the image. Determine how much space you would like and enter it into the text box beside Horizontal space. If you enter just a number then pixels will be used as the unit. You can specify a unit such as “em”, “px” or “rem” to use.
Border
To change the width of the border around the image, enter a number into the Border field. If you enter just a number then pixels will be used as the unit. You can specify a unit such as “em”, “px” or “rem” to use.