General InformationMenu NameMenu TagNavigation TemplateShow Sub Navigation |
Cache Navigation Item DataCache LifetimeCSS ID and ClassesDividerHeader/Footer |
Adding a Navigation Menu
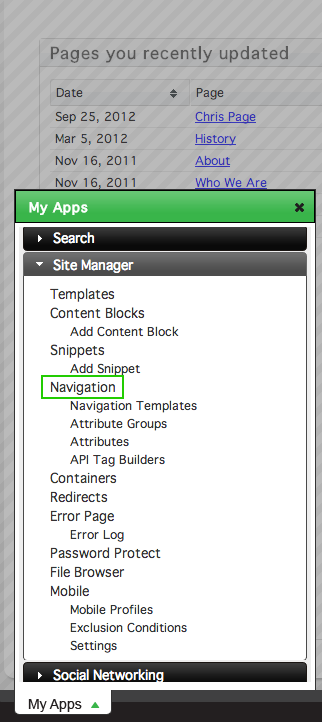
To add a Navigation Menu to your site, click Navigation under the Site Manager section in the My Apps menu.
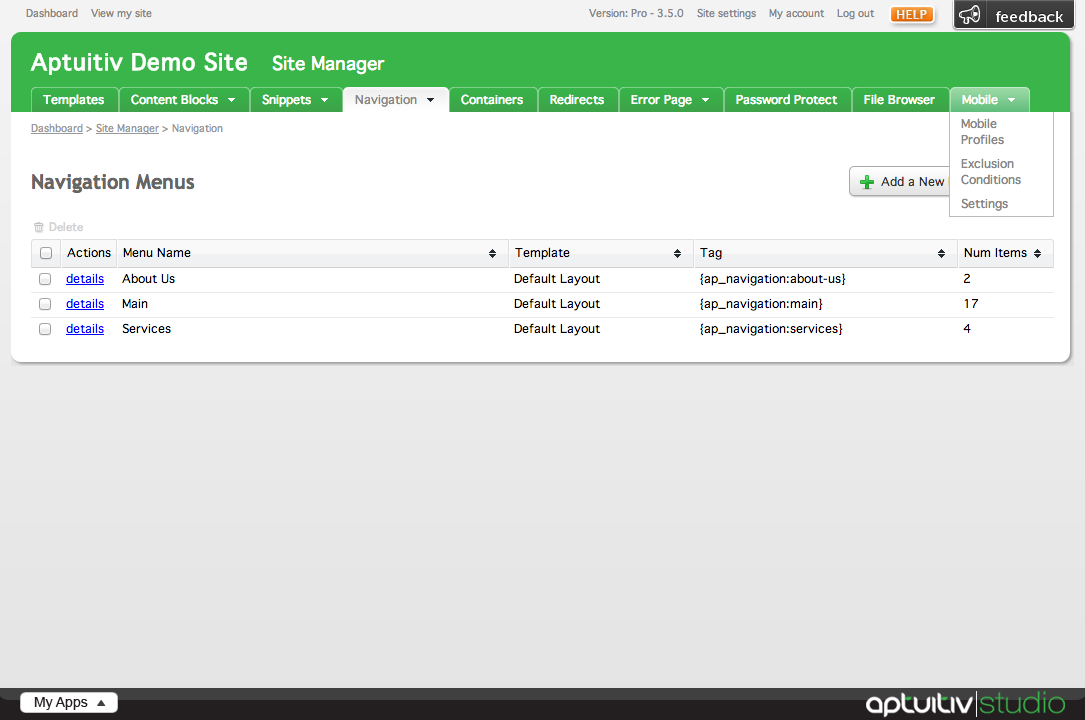
This will take you to the Navigation Menus overview page.
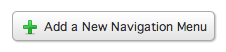
To add a new menu, click the Add a New Navigation Menu in the top right corner of the window.
General Information
Menu Name
In the General tab, give the Navigation Menu a name using the Menu Name field.

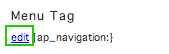
Menu Tag
The Menu Tag is automatically generated when the Navigation menu is created based on what the Menu Name is. To change the Menu Tag, click edit to the left of the tag.
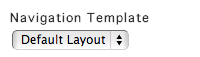
Navigation Template
To pick a Navigation Template to use for the menu being added, choose a value from the Navigation Template select menu.
Show Sub Navigation
The Show Sub Navigation settings control how the menu handles the showing of sub navigation based on the section of your site a user is viewing.

Yes, when necessary will cause sub navigation to show only when necessary, such as showing sub navigation for just the current section of the website. This is the default behavior.
"Never" will cause the sub navigation items to never show.
"Show all sub navigation all the time" will cause the sub navigation items to show all the time. Typically, this is used if a sites design requires implementation of drop down navigation functionality.
Cache Navigation Item Data
Navigation Items can be cached which will speed up the load times for the site. By default, the cache is enabled for the navigation menu. To disable it, choose No from the Cache navigation item data select menu.

Cache Lifetime
If cache is enabled for the menu you are adding, you can define an amount of time that a cache can exist for before the cache is purged and is rebuilt. By default, the cache is set to exist for 6 hours before it is rebuilt. You can change the amount of time in hours by inserting a value into the text field under Cache Lifetime.

CSS ID and Classes
A CSS ID and classes can be given to the Navigation menu by inserting values into their respective fields.
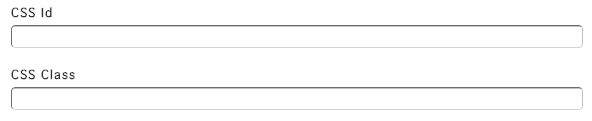
Note that there can only be one value inserted into the ID field, but multiple CSS classes can be given to the Navigation menu.
Divider
The Divider is content that is put in between the Navigation menu's items. HTML Code can be added into the Divider field - this bit of code will show up between every navigation item in the menu when it is shown on your site. Note that the Divider won't be put before the first navigation item and after the last navigation item.

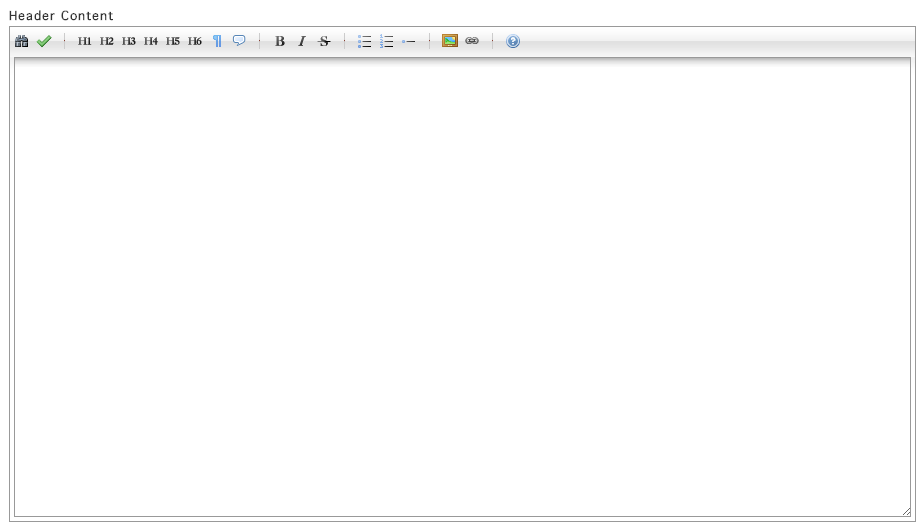
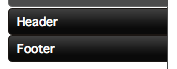
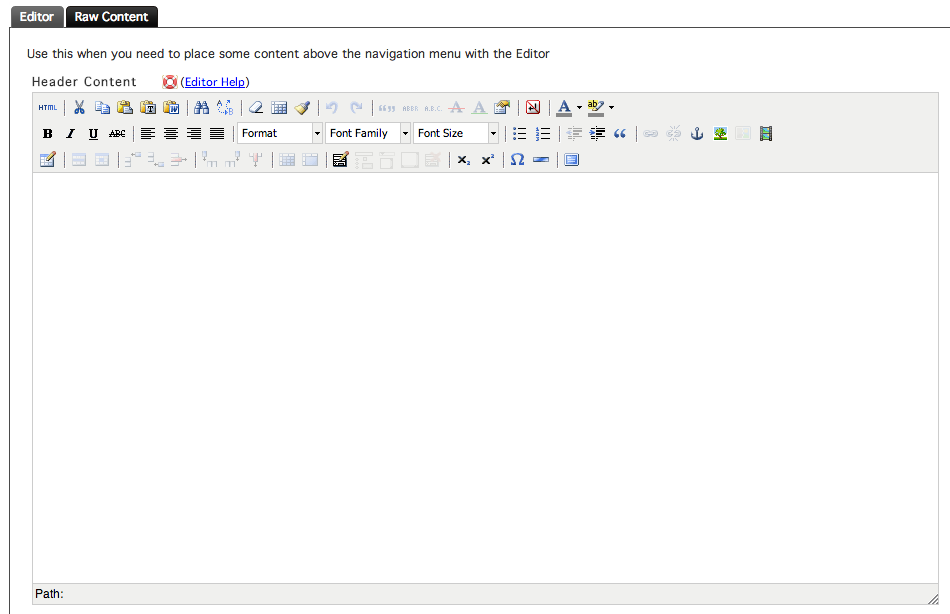
Header/Footer
Content can be placed before and after the navigation menu by inserting content into the Header and Footer fields, respectively. To access these fields, click on the Header or Footer tabs on the left side of the Add a New Navigation Menu window.
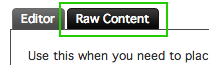
There are two different methods of adding content to these fields. The process for adding content to the Header and the Footer is the same.
You can use the Rich Text Editor by clicking the Editor tab within the Header or Footer window to insert content the same way you would add content to a page using the Editor.
For more information on using the Rich Text Editor, visit the documentation.
Instead of using the Rich Text Editor, you can add content to the Header or Footer in flat HTML by clicking the Raw Content tab.
You can add HTML into the editor here.