Insert/Edit links
Inserting the Link
You can insert and edit links using the rich text editor. The link can be to another page within your website, to a different website or to a document/image within your website.
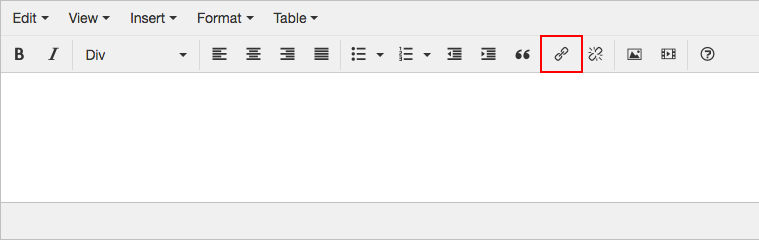
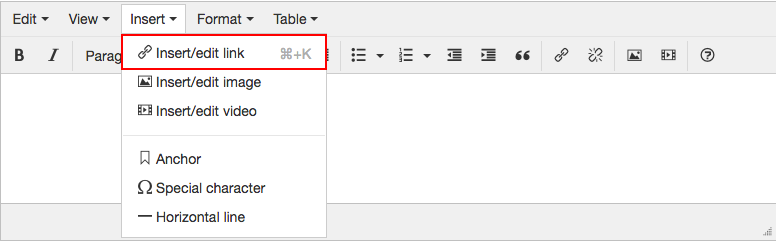
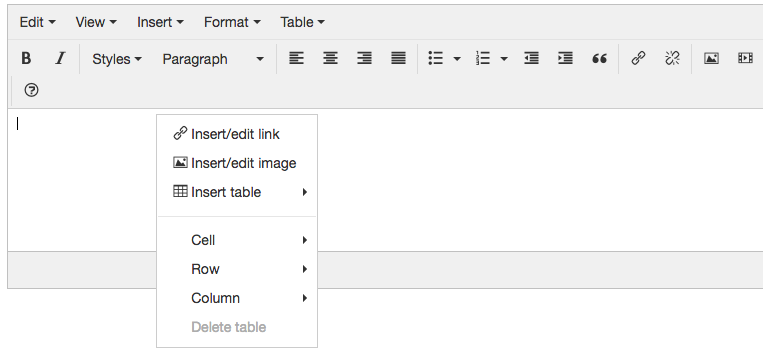
To add a link, select the text you want to add the link to, and click the Insert/edit link button. You may also select the Insert/edit link button from the insert tab. You can also right click for even faster access to the button.
This will bring up the Insert/edit link window. To choose a link, click the Browse icon to the right of the Url field on the pop up.
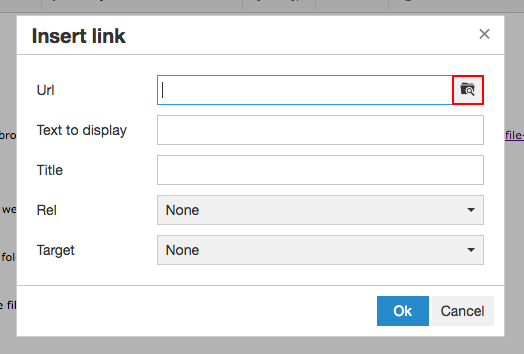
This will take you to the file browser.
For a more detailed explanation of the file browser visit the file browser documentation page.
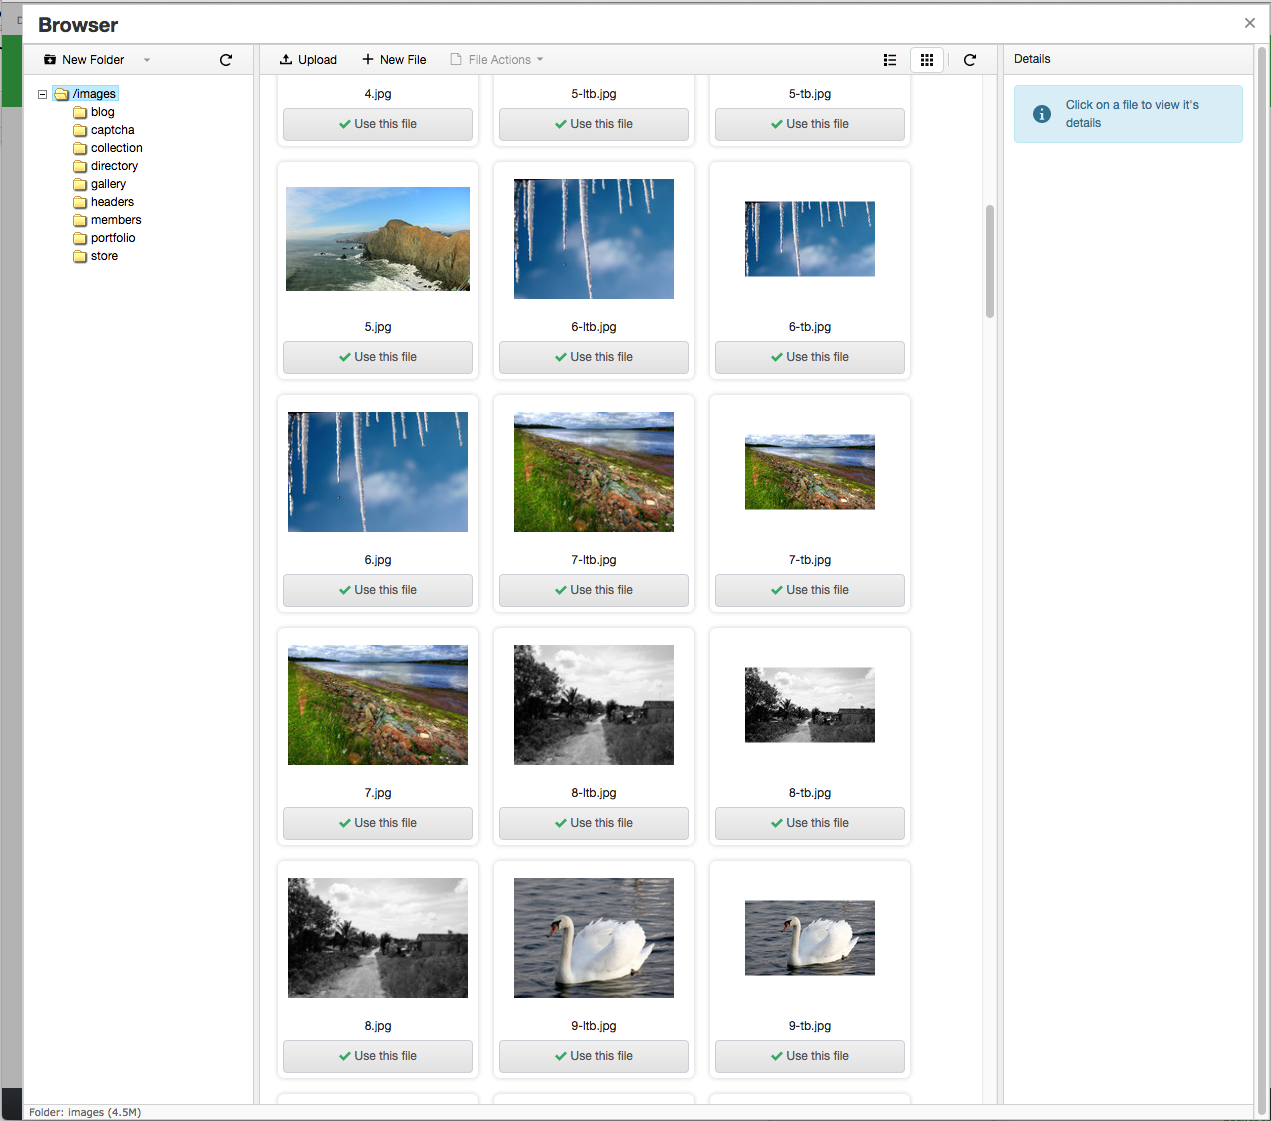
By default you are first shown the files already uploaded to your website within the “/docs” folder.
If you want to link to a file such as as PDF document choose the folder that the file is in and either click the Use this file button or upload a new file.
To upload a new file, click the Upload button in the top left of the file browser.

The Upload window has two buttons - Add Files and Start Upload.
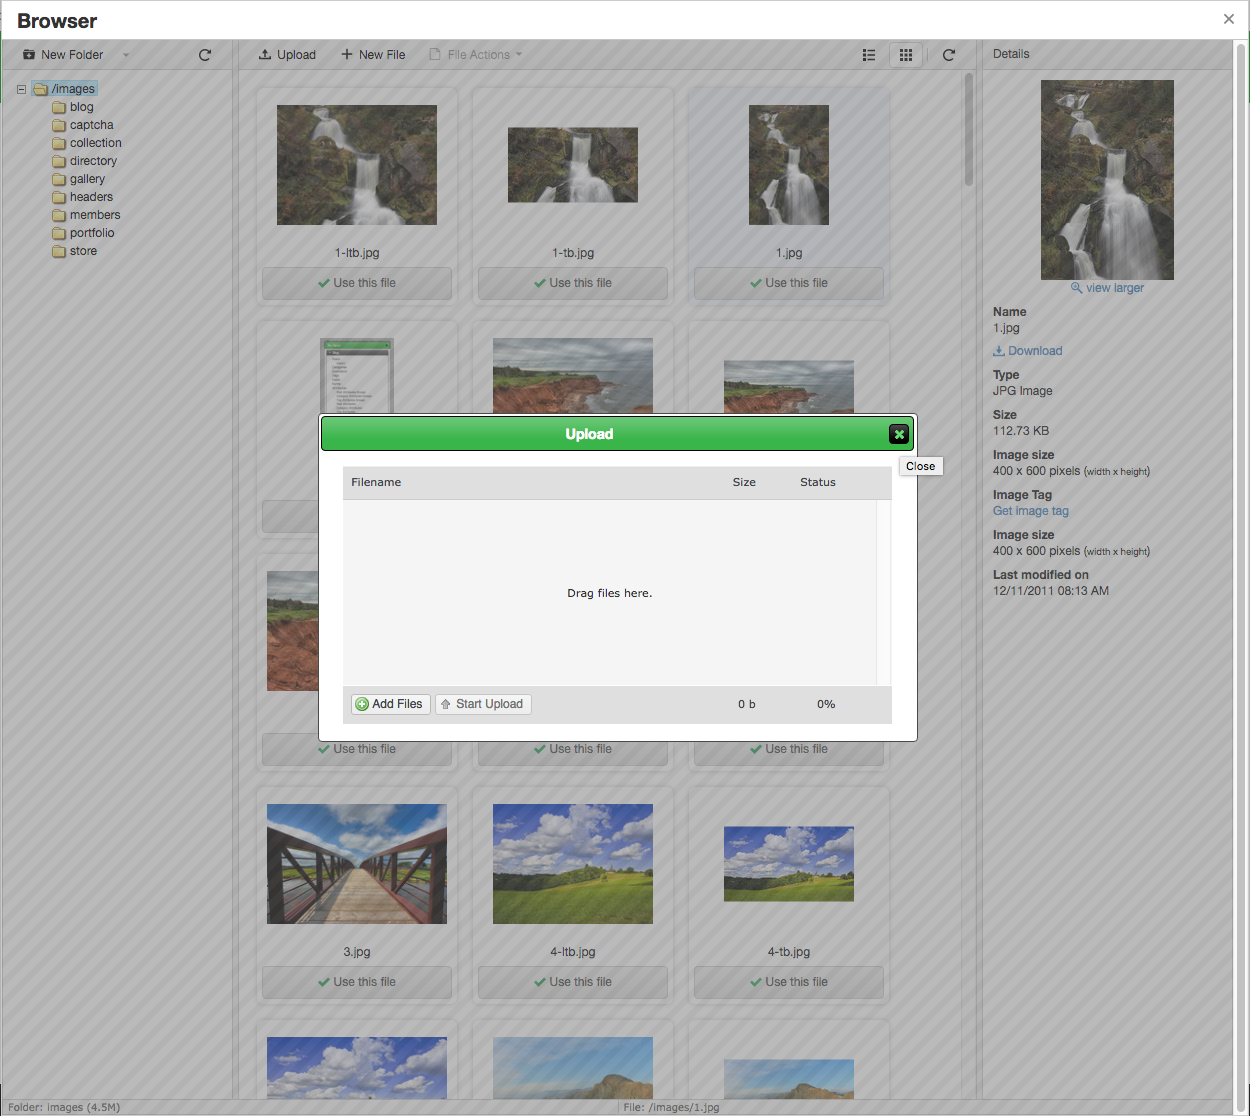
Click on Add Files to choose one or more files to upload to the server.
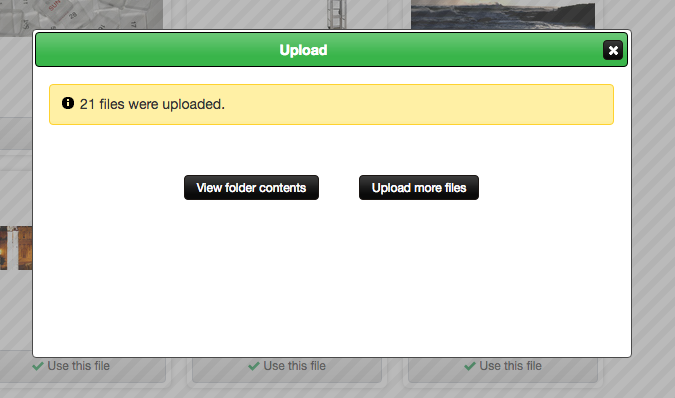
After you select the files to upload, click the Start Upload button.
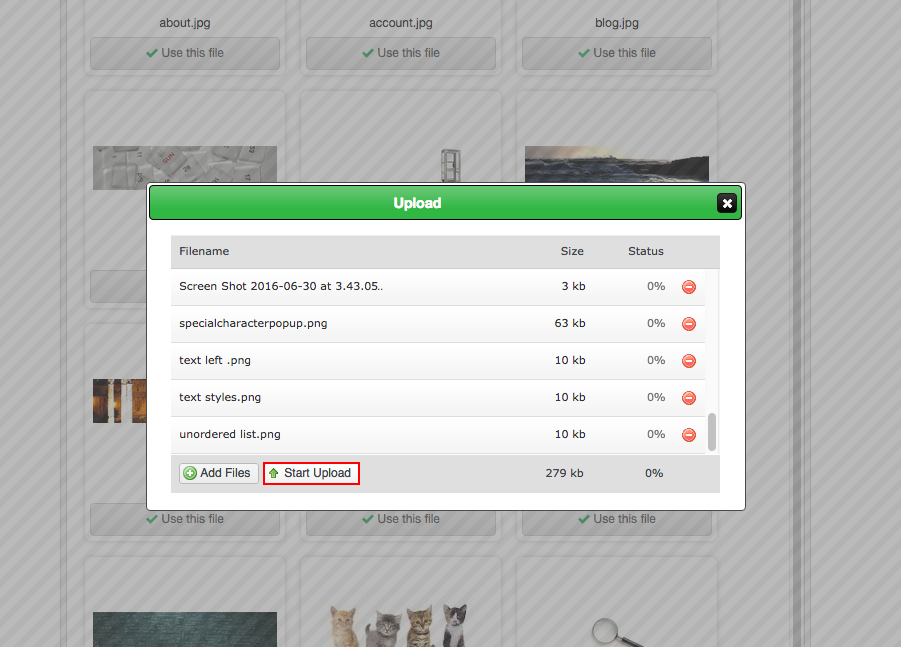
After your files are uploaded, click View folder contents to refresh the file browser and then click the Use this file button for the file you want to use.
To link to a page or app page within your site, click the Pages / Apps tab in the top left of the file browser window.

You will see a list of tabs on the left that show the different sections of your website. The first one is called Pages and holds the list of regular pages that are managed under the Pages app.
The other folders are for the different apps within your website and hold the various pages/content that you can link to under those apps.
Click on the page that you would like to link to.
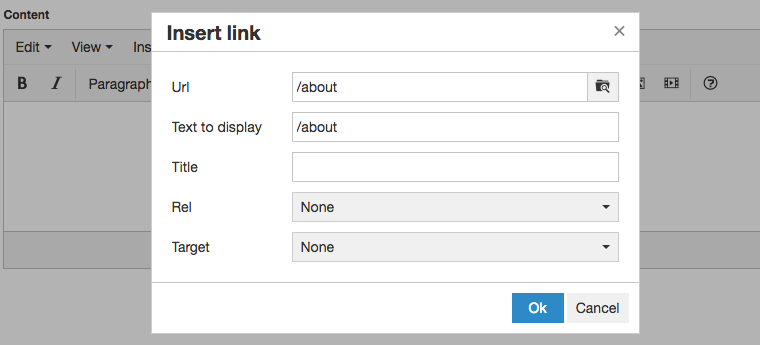
After clicking on a file or page to link to, you will be redirected back to the Insert/edit link window. After you’re finished, click the OK button.
Other Features of the Insert Link Window
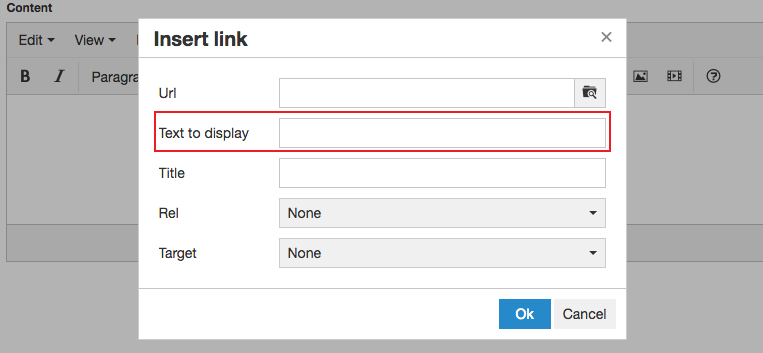
Within the edit link window, there are multiple other fields (besides Url) to consider.
Text to Display
The Text to Display field allows you to decide the text that the link is embedded with by selecting the corresponding text box. This can be automatically selected in advance if you previously highlighted the text you wished to embed.
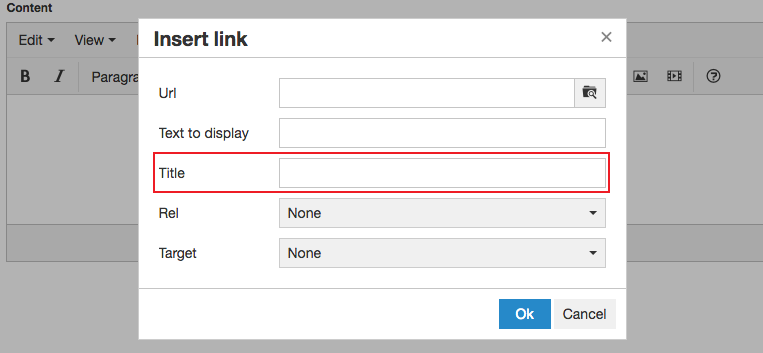
Title
You may insert a title for the link using the Title field. This will add the “title” attribute to the link tag.
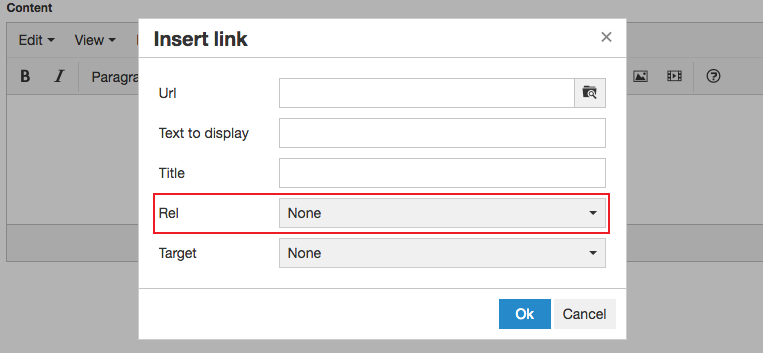
Rel
The Rel field lets you pick a pre-defined value that will populate the “rel” attribute on the link tag.
A common use for the rel attribute is to use it to set up links that open in a lightbox. The default value for the field is “lighbox” to help you do just that.
You can configure the Rel field values under the Editor Settings.
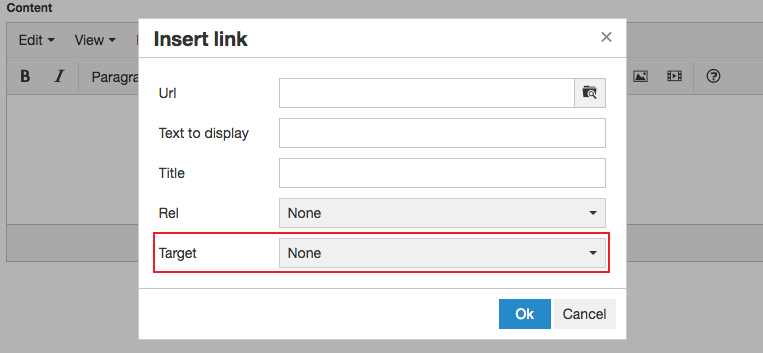
Target
The Target dropdown allows you to decide whether the link is opened in the same browser window, a new browser window or a different target. If you would like the link to open in a new window upon clicking, select the dropdown and select New Window. If you would like the link to open in the same window, leave the selector on None. You can configure the Target field values under the Editor Settings.
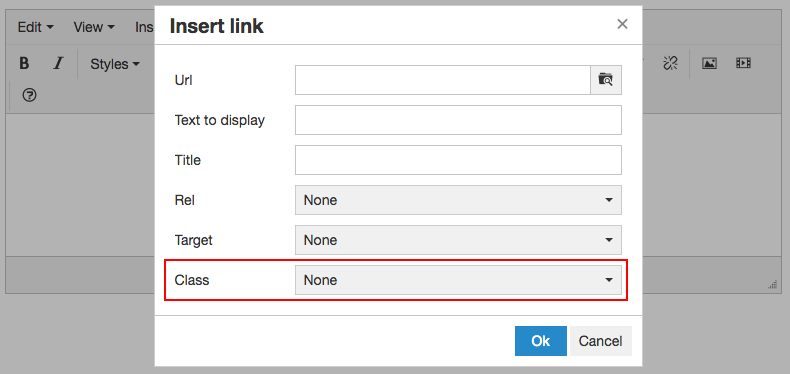
Class
The Class field allows you to pick a style class to assign to the link. This will add a specified CSS class to the class attribute on the link tag that can be used to style the link. The Class field will only show if one or more link classes have been set up in the Editor Settings.