What are templates?
Templates are the foundation of any site built in the software. They contain the basic structure of pages that you'll be using on your site. Traditionally, web pages have been built with static HTML that then gets ported over into a content management system. With Branch, however, templates and other aspects of a site can be built within the software easily. Every site created with this CMS starts as a blank slate which allows you to create your site from scratch, similar to building a site out in static HTML, which effectively removes a step from the development process.
What are Content Blocks?
Content blocks are areas in a template where content can be placed by an app or within a page. Every site comes with the main content block that is typically used for the main content section or focal point of a page. Multiple content blocks can be created and used to insert different content into apps and pages using the software. For more information on content blocks, view the content block documentation.
Creating Content Blocks
This example site is going to have a main content area and a sidebar. Since you want both of these areas to have the ability to have dynamic content in them, you're going to want to create another content block to add to the template later on. You can find out more about how to create and edit content blocks by viewing the Content Block documentation. For this guide, the new content block is going to be called "Sidebar."
Creating a Navigation Menu
Since you want someone viewing your site to be able to navigate around it, you'll need to create a navigation menu that you can add links to. You can learn more about creating and editing navigation menus and items by viewing the documentation.
Building a template
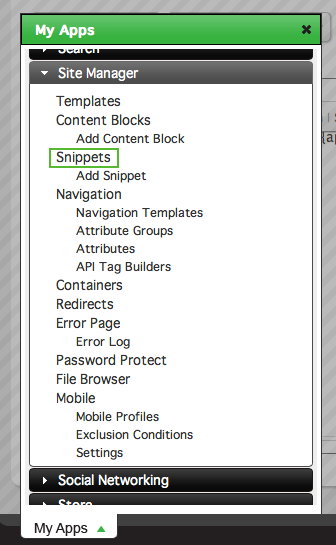
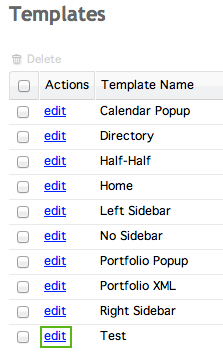
To get started, click on Templates under Site Manager in the My Apps menu.
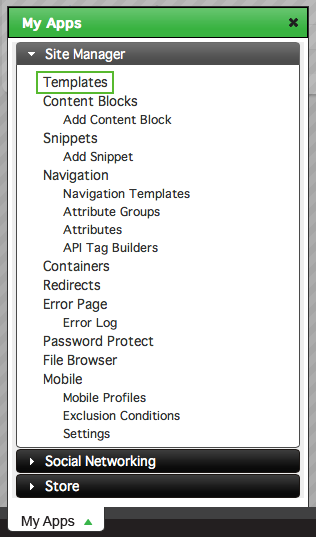
This is where you will handle the creation and editing of all your templates. A more in-depth explanation of templates can be seen by viewing the Templates documentation.
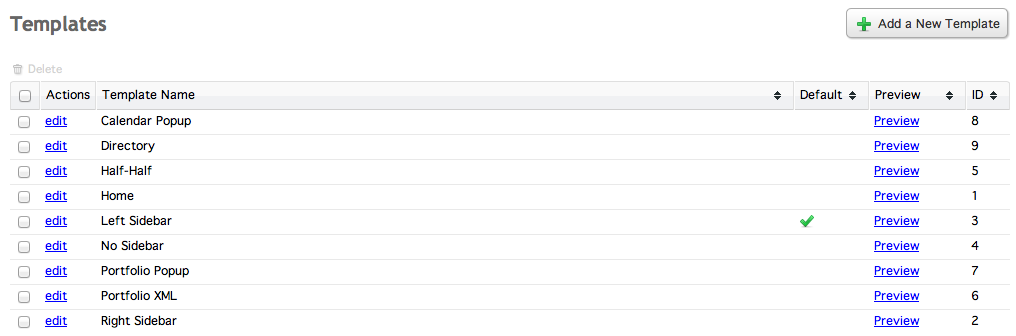
Your site comes with a pre-made blank template. This is the default template that will be used for pages and apps on your site, unless you choose to use a different template. You can start by editing this template or clicking on Add a New Template in the top right of the Templates screen to create a new template.
The edit template screen has two main tabs - the General Information tab and the Template HTML tab. The General Information tab controls the template settings, such as the name, default template settings, content type, doctype, and content blocks.
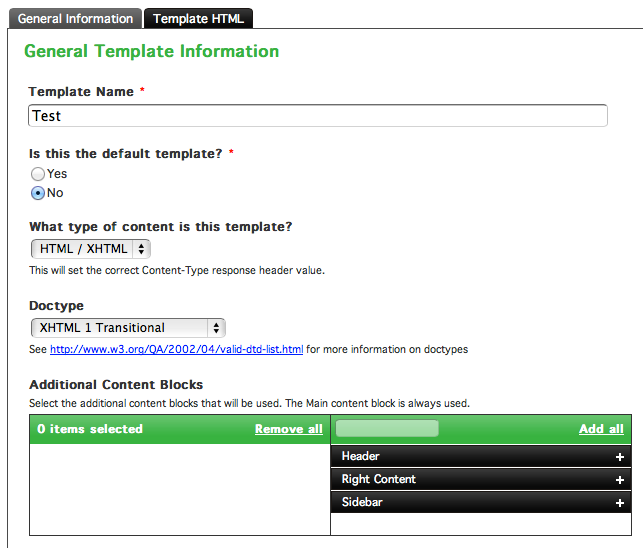
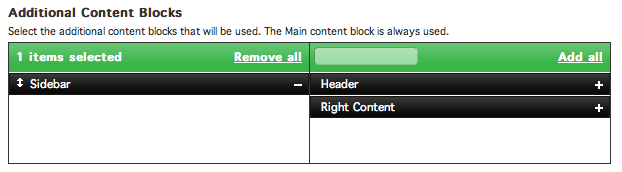
A list of content blocks that you've created can be seen at the bottom of the General Information tab. To make a content block available for a template to use, click and drag the block from the right side of the blocks menu to the left side.
In the Template HTML tab is where you'll start adding your HTML and inserting code from the CMS.
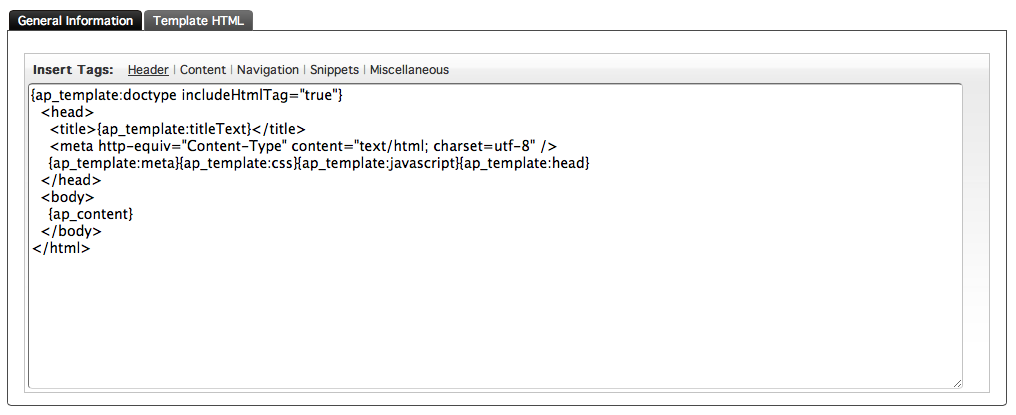
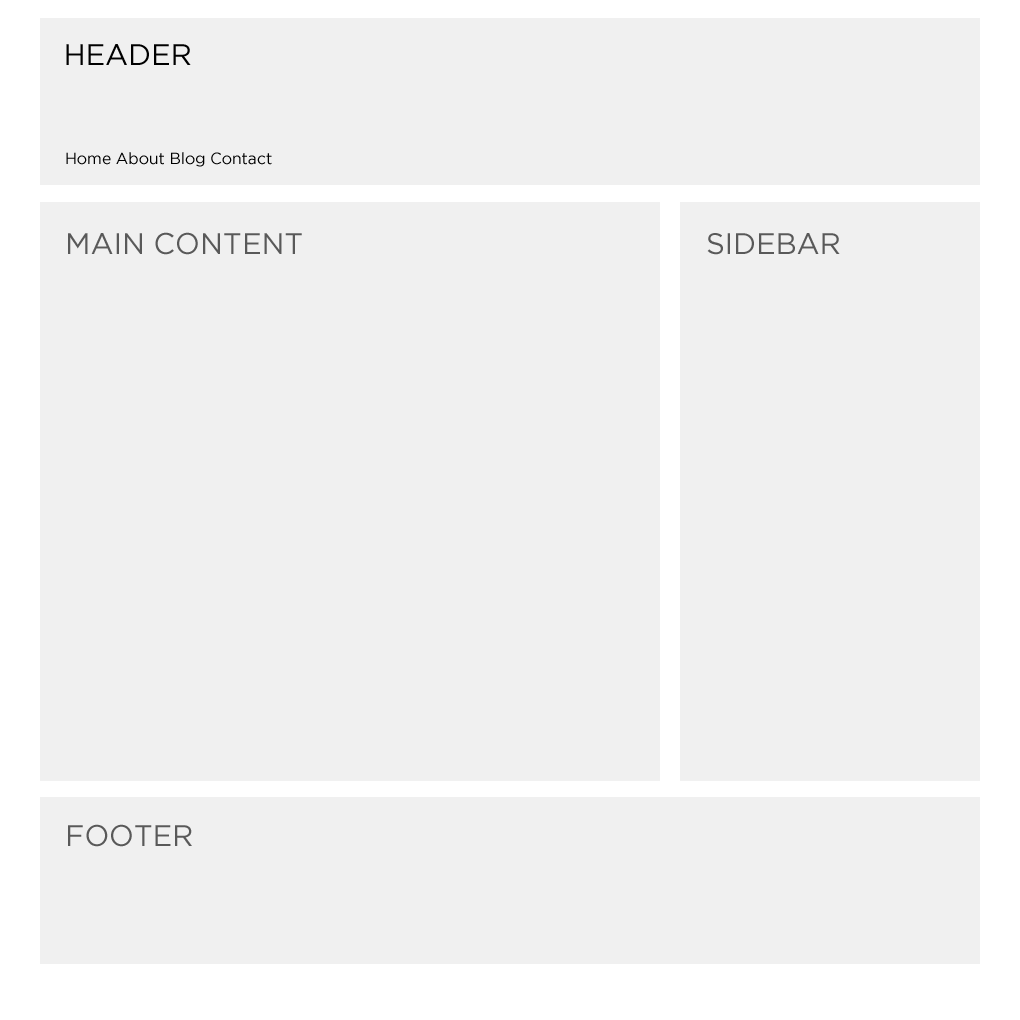
This is a general representation of what the template will look like after it is created.
A new template has some tags already created when it is created. At the very top of the template you can see the tag:
{ap_template:doctype includeHtmlTag="true"}
These snippets of text are AP Code. AP Code always begins and ends with curly braces. They handle the placement of dynamic content created within and by the software. In essence, they're bits of code that place different types of content at the location in which they're placed, depending on what a user is viewing on your site. Another example is the AP code for the page title:
{ap_template:titleText}
This snippet of code will dynamically create a title based on what is set within a page or an app. The same concept applies to other AP template tags or content block tags. You can learn more about these tags by viewing the Core Tags documentation.
With that basic understanding, you are ready to start building your template. This example calls for a container div, a header, main content area, sidebar, and footer, so your code will look something like this:
<div class="container">
  <div class="header">

  </div>
  <div class="main-content">

  </div>
  <div class="sidebar">

  </div>
  <div class="footer">

  </div>
</div>
The strength of this software is that it is very flexible and allows you do nearly everything you need within the software instead of having to use other programs to achieve your goals. Instead of having to create a template file and upload it to your server and edit it with a code editor and continue to re-upload it every time you make a change, you can do all your work in your browser and save yourself the time and the hassle.
Your template's structure doesn't help much if it's not styled properly. At this point in time you should link up your stylesheet(s) to your template. If you haven't yet created your stylesheet, you can do so by using the File Browser and creating one from there. View the documentation for more information on how to use the file browser and its features.
Add a stylesheet to your template like you normally would to any HTML page by linking to it with a tag within the section of your site.
Yourcode will now look like this:
{ap_template:doctype includeHtmlTag="true"}
<head>
<title>{ap_template:titleText}</title>
<meta http-equiv="Content-Type" content="text/html;charset=utf-8" />
<link rel="stylesheet" type="text/css" href="/layout/css/styles.css" />
{ap_template:meta}
{ap_template:css}
{ap_template:javascript}
{ap_template:head}
</head>
Now that your stylesheet is linked up you can apply styles to the HTML.
The File Browser contains an editor that you can use to make changes to your CSS files and other documents. For more information, view the file browser documentation.
Inserting content blocks and navigation
Since your main content is going to go into the main content div, add the {ap_content} tag inside that div. This can be done by either typing the tag out or by clicking the Content link on the Insert Tags bar above the editor.
![]()
Clicking the Content link will show a window of all content blocks that can be inserted into your template. Clicking on a content block title will close the window and insert the tag into your template where your cursor is placed within the editor. You can also copy and paste tags into your template.
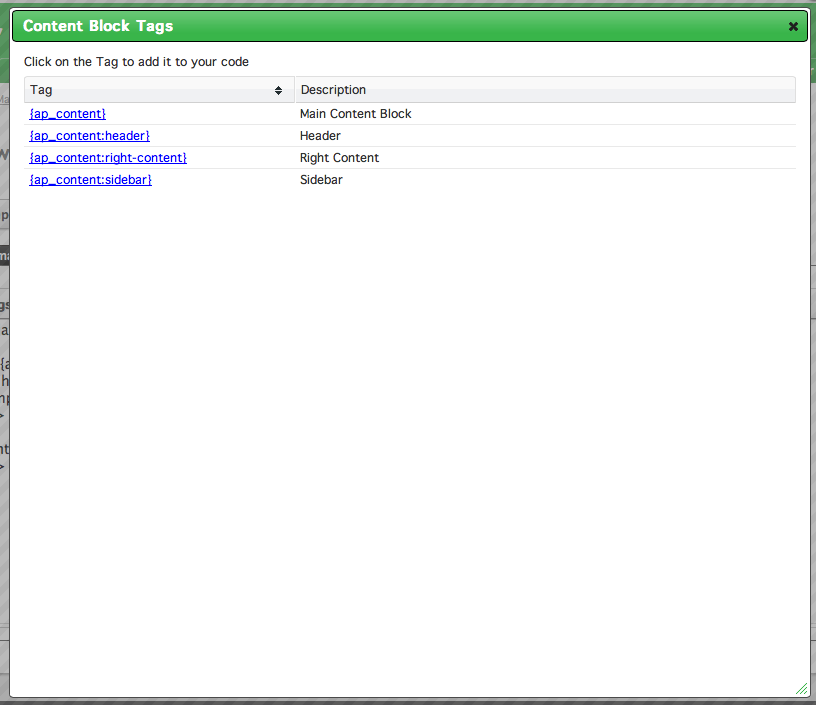
Add the Sidebar content block you created earlier to your sidebar div.
Following the same process as adding a content block, add a navigation menu to your template in the header of the template. To do this, put your cursor within the header div, click on the Navigation in the Insert Tags bar above the header, and click on your navigation menu's title to insert it.
Creating the footer snippet.
A snippet is a chunk of code that can be saved to a variable that can then be placed in multiple places throughout your site. The benefit of this is that if you need to make a change to your footer and you have multiple templates that are utilizing the footer snippet, you only have to change the code in one location rather than edit multiple templates. To create the footer snippet, click on the Snippets link in the Site Manager section in the My Apps menu.
To add a snippet, click Add a New Snippet in the top right of the snippets screen.

Insert your footer code into the snippet.
When you're finished, save the snippet, go back to Templates and click edit to the left of your template name.
In the Template HTML tab, click on Snippets in the Insert Tags bar above the editor. Similar to adding a content block or navigation menu, clicking on a snippet name will insert the tag into the template. Add your snippet to the footer div and save the template.
After all of these steps, your <body> code should now look something like this:
<div class="container">
<div class="header">
{ap_navigation:main}
</div>
<div class="main-content">
{ap_content}
</div>
<div class="sidebar">
{ap_content:sidebar}
</div>
<div class="footer">
{ap_snippet:footer}
</div>
</div>
Now that you've created a template, you can create a page content layout and start adding pages to your site. Go to step 2.