OverviewManaging FoldersViewing FilesUploading Files |
Some Extras for DevelopersAdding Text FilesEditing Text FilesRenaming or Deleting Files |
back to top File Browser Overview
The File Browser is a versatile app for both uploading, viewing, editing, and linking to files. In addition to managing files, folders can be created directly in the administration instead of doing so in an FTP program.

To use the file browser, click My Apps > Site Manager > File Browser. The file browser gives you a view of all the files on your site.

Managing Folders
The folder browser is located on the left-side of the file browser. Here you can create, delete, and download folders.
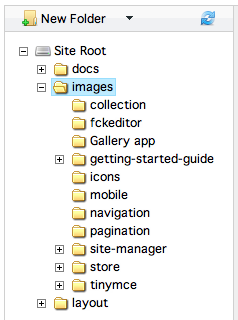
To create a new folder, click on the New Folder button on the top of the browser.
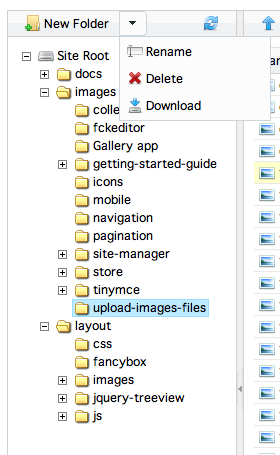
You can also rename, delete, or download a folder (and its contents) by clicking the arrow next to the New Folder button. Downloads will be delivered in a .zip format.
View Folder Sizes
You can view how much disk space a folder is taking up in the bottom left of the file browser. Next to the folder path the size of the folder will be displayed.

If you hover over any of the folders above the size of that folder will also show in the same place.
Viewing Files
The file browser window is in the center of the screen. The files of the folder that is highlighted are the ones that are shown in the file browser. By default, the first folder is selected. Your files can be listed in a tile format or a list format. To change the format, click on the View as List or View as Tiles button in the top right of the file browser window.

Viewing by tile gives you a small thumbnail-sized version of your image; viewing by list lets you see more information related to the file: the file size, the file type (.jpg, .png, etc.) and when the file was last modified.

When you click on a file, you can see more information about it on the right of the file browser in the Details section. Images that are larger than the thumbnail size allow you to click to see a larger size of the image.

If you are trying to view a text-based file (for example, a CSS file) you can click View File which will open a new browser window.

Uploading Files
To upload a file, click on the folder you'd like to upload the file to and click on the Upload button in the top left of the file browser. The Upload window has two buttons - Add Files and Start Upload.

Click on Add Files to choose a file to upload to the server. Clicking Add Files will bring up a browser window, where you can choose a file from your computer to upload to the server. The file browser allows you to upload multiple files at once, or you can upload one file at a time and add more files by clicking Add more files and repeating the process.
There are different methods of selecting multiple files:
- Click and drag.
- Shift + Click to select a range.
- Control (Ctrl) + Click to select multiple specific files. (On Mac OS X, use Command (
 ) + Click)
After you have selected the files to upload, your files will appear in the upload queue. Click Start Upload and your files will begin uploading to the server. The progress of the files you're uploading is under the 'Status' section of the upload queue. Progress for each individual file is marked by a percentage (%). Overall progress can be tracked under the upload queue by the progress bar and the percentage.
When your files have finished uploading, click View folder contents to see the files you have just uploaded, or click Upload more files if you want to upload more files to your server.

Some Extras for Developersback to top
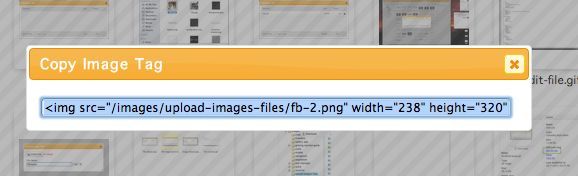
The file browser also gives you the ability to link to the file quickly and easily. If you click on a file, you can get the entire tag for the file by going to the details section and clicking on Get image tag or Get link tag.

To get just the file or folder path, click on the link at the bottom of the browser.

back to top Adding Text Files
Files can be created directly within the browser, eliminating the need to use an external program to create and upload the file to your server.
To create a new text file, click New File at the top of the file browser. Give your file a name and choose the file type from the drop down menu and click Create File when you are finished.
When creating a file, do not add the file extension at the end of the file name. The allowed filetypes are .css, .htm, .html, .js, .php, .txt, and .xml.

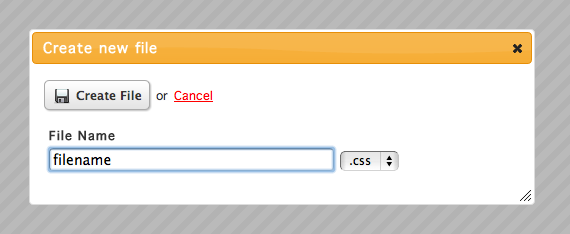
After you create the text file, click the X to close the window and refresh the file browser.
Editing Text Files
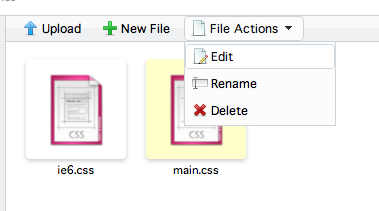
The file browser also allows you to edit text-based files within the browser. To do this, select the file you wish to edit; at the top of the file browser, under File Actions, click Edit.
After you're done making changes to your file, click Save.
Renaming or Deleting Filesback to top
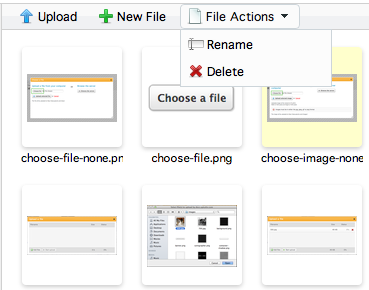
To rename or delete files within the file browser, select your file and under File Actions, click Rename or Delete.
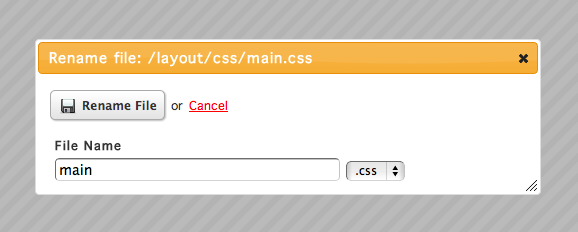
After you click Rename File, click the X to close the window and refresh the file browser.