Setting up Event Registrations
There are a few steps to setting up registrations for events.
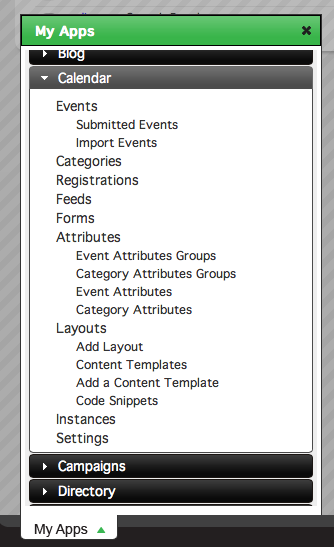
- First, go to the forms section of the Calendar app; you can do this by clicking the "Forms" link in the "My Apps" menu.
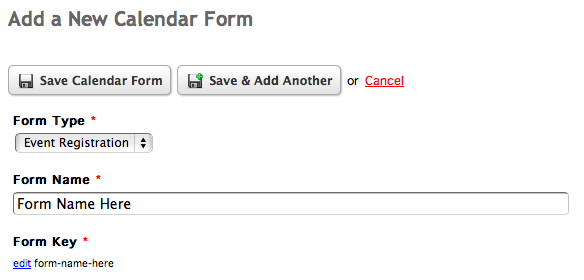
- Click the link to add a new form and fill out the appropriate fields.

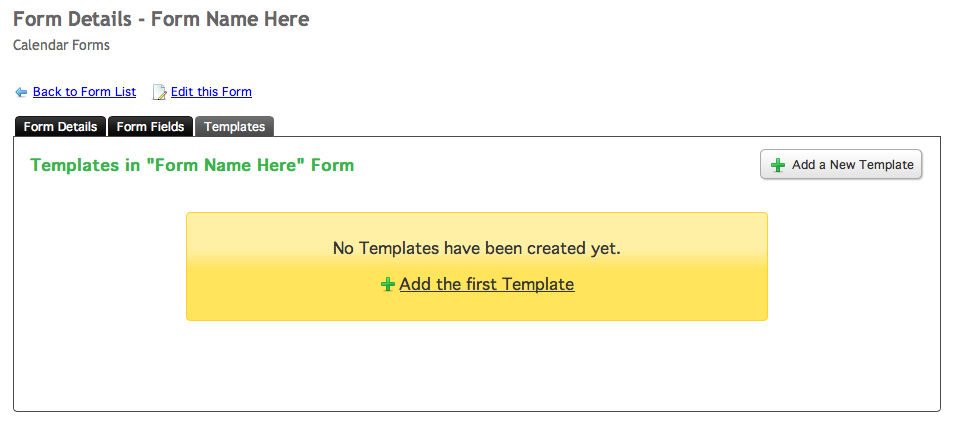
- After you get to the Form Details window, you have to create a template to show the form fields. Do this by clicking the "Add a New Template" button under the Templates tab in this window. (Note: registration form fields are automatically created when a form is generated - if you need to add more fields, you can always do so by clicking the add button in the Form Fields tab in the Details window.)
- Set up the template however you want to display your fields. Save the template when you are finished.
For example:
<h1>Register</h1>
{#registrationForm.tag.open}
{loop items="#registrationForm.fields" value="field"}
<div>
<label for="{#field.id}">{#field.label}</label>
<br />
{#field.tag}
</div>
{/loop}
<input type="submit" value="Submit">
{#registrationForm.tag.close} - Within your event detail page, add a link to the registration page by using the {#event.registration.url} tag. To test whether the event does or does not allow registrations, use the #event.registration.allow tag. For example,
{if #event.registration.allow}
<a href="{#event.registration.url}">Register</a>
{/if} - Next, create an "Event Registration" content template. The event registration form is displayed on its own page, separate from the event detail page, meaning that it needs its own content template and layout to display it. Think of the form template as the formatting for the form only and the content template as the formatting for the page it resides in.
- At this point in time you can add more content to the page that will contain your registration form, like the event title or the event description. To pull the registration form into that content template, use the {#registrationForm.content} tag. Save your content template when you're finished.
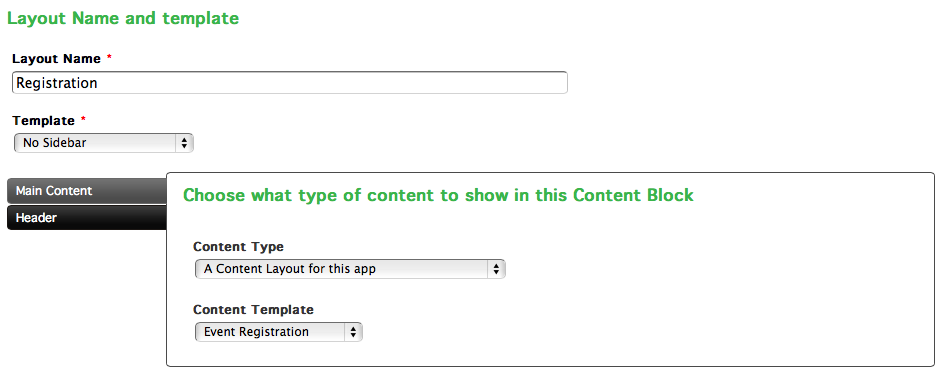
- Create a new layout for your Registration page. Give it a name and pick a template that you want to use. Save it to go to the "Edit Layout" window. At this screen, select the Event Registration content template that you created for whatever content block you need it to be assigned to.
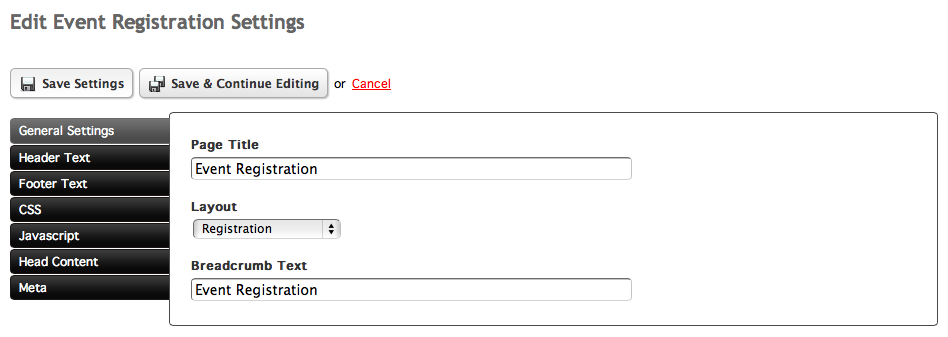
- The last step is to assign the layout to the Event Registration page. To do this, go to the Calendar app settings and click "Event Registration Form Page Settings". In that page, select the layout you just created under the layout menu. Save the settings.
Your form should now be up and running for events you allow registration for.