Adding Container Items
Once a container is created, you can start adding items to it. An item is a specific condition (a URL pattern) for the container that performs an action if the condition is met. Items can be set to display any content that can be accessed using an API tag (such as a sub-navigation or a content snippet) as well as custom content.
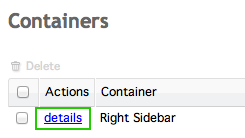
To add a new item to a container, click Details to the left of the corresponding container.
In the Container Details window, click Add a New Container Item in the right side of the window.
![]()
This will take you to the Add a New Container Item window.
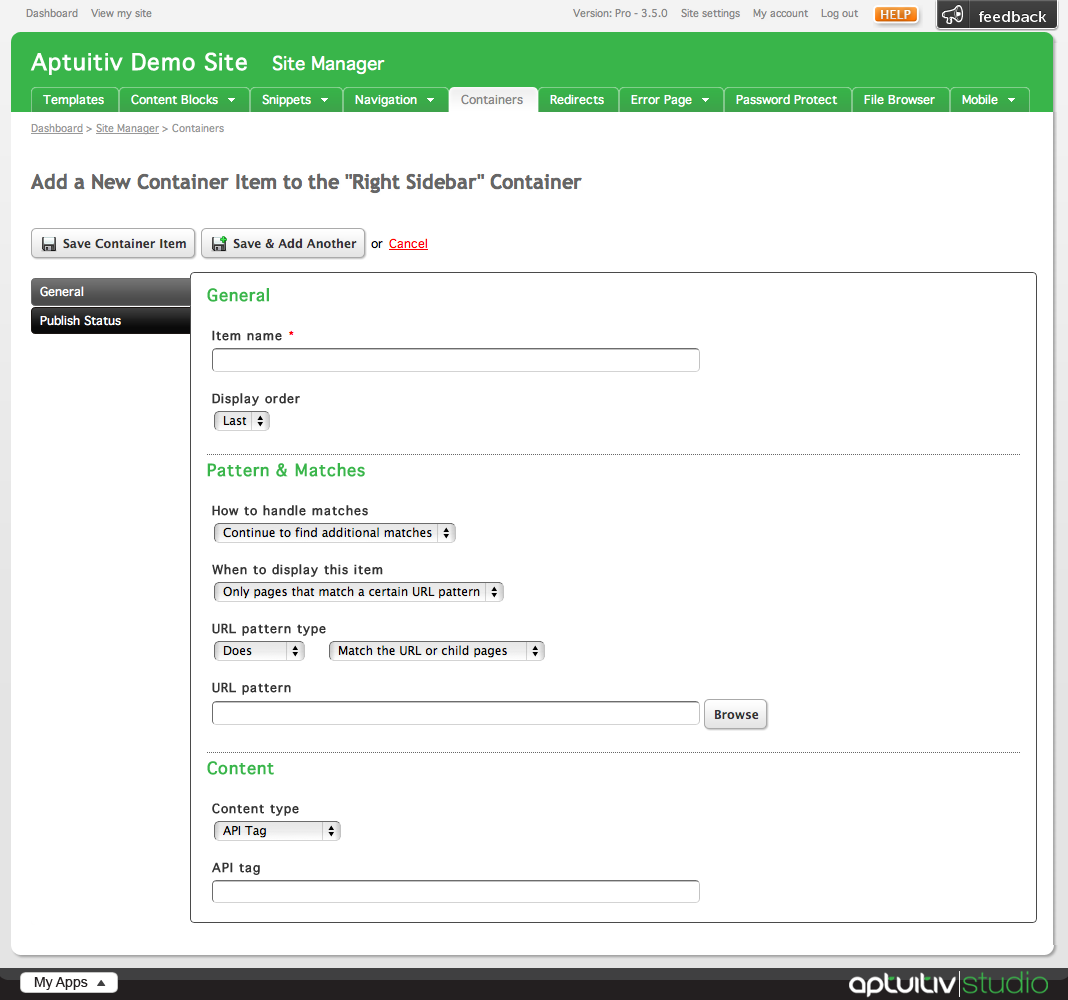
General
The General tab in this window contains the container item's attributes, conditions, and content settings.
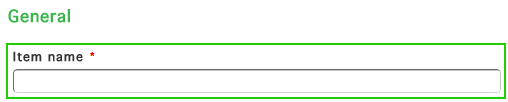
Give your item a name by inserting a value into the Item Name field.
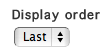
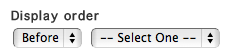
The display order of the item can be set by choosing a value from the Display order select menu.
If your container has more than one item, choosing Before or After will allow you to choose another item from which you can base the display order of your new item.
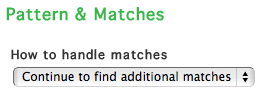
Patterns & Matches
The Patterns & Matches settings control how the item conditions are handled.
Depending on the configuration of a container's items, multiple conditions can be met for different items. By default, when a container item is created, the container will continue to check the items in the container for more matches unless it is specifically told to stop looking for more matches.
The item can be set to stop the container matching process by choosing Stop finding additional matches from the How to handle matches select menu.
Container items can be set to match specific URL patterns, or they can be displayed for all pages by choosing a value from the When to display this item select menu.

Choosing to display the item for All Pages will hide the URL pattern fields below the select menu.
The URL pattern type settings control when a container item's content is set. Content can be set to show when a URL is matched or is not matched.
To set how a match is controlled choose values from the URL pattern type select menus. The first menu controls whether a match Does or Does NOT match up with the URL pattern.

The second menu controls the method that the item is matched to.

- The Match the URL or child pages condition is met when an entire URL is matched or if the child pages for the URL pattern is recognized.
- The Match child pages condition is met when child pages for the URL pattern provided are matched.
- The Match the beginning of the URL condition is met when the beginning of a URL is matched, from the first forward slash (/) after the domain.
- The Match the end of the URL condition is met when the end of a URL is matched.
- The Match the entire URL condition is met when the entire URL provided is matched.
- The Matched a regular expression is met when the page URL the page matches a regular expression defined in the Regular Expression URL Pattern field.
You can see more information about what Regular Expressions are and how to use them here.
Choosing Does will cause an item to show only if a pattern is matched. Choosing Does NOT will always show the item when the pattern doesn't match.
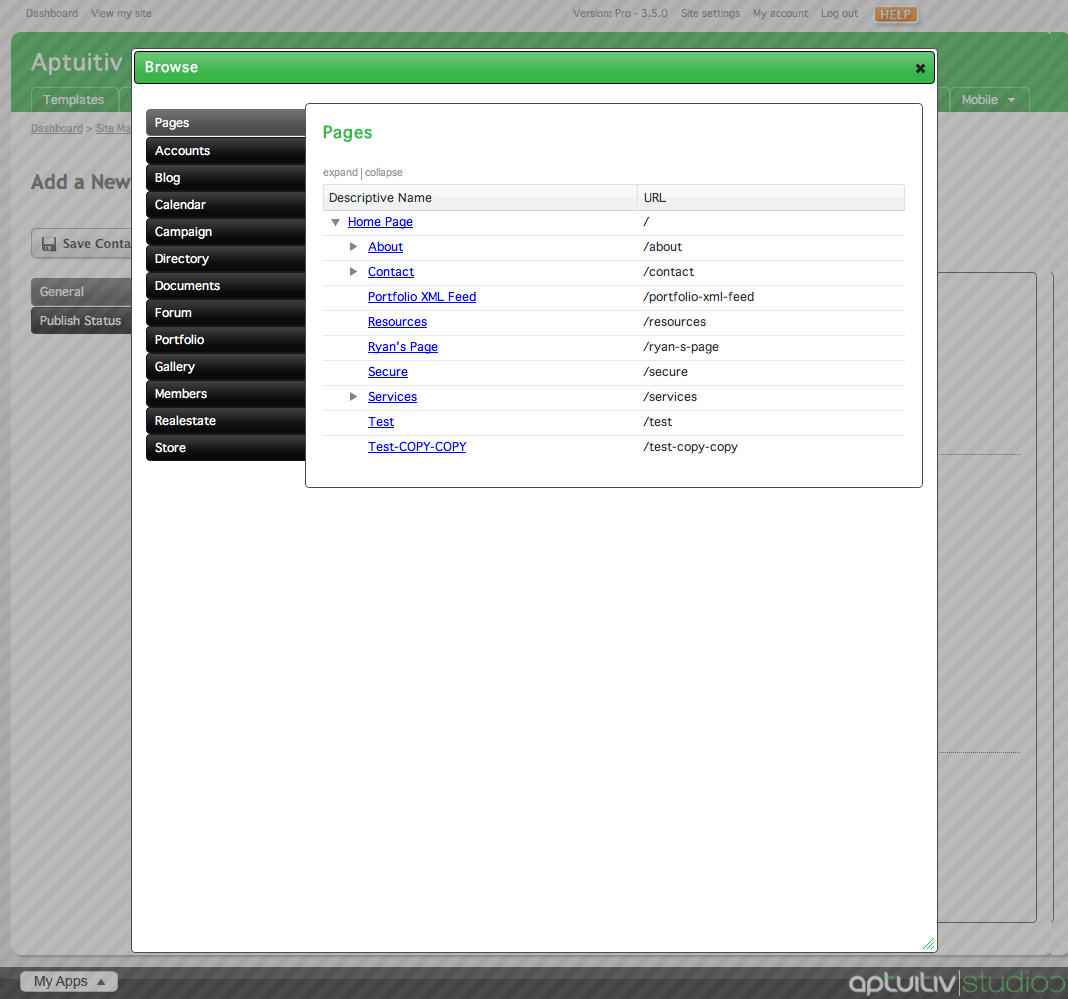
To pick a URL pattern for the container item, you can manually enter a value into the URL pattern field or you can click Browse to bring up the page browser.

Pick a page from the Page Browser by clicking on the page title. From the browser you can also link to other app pages as well.
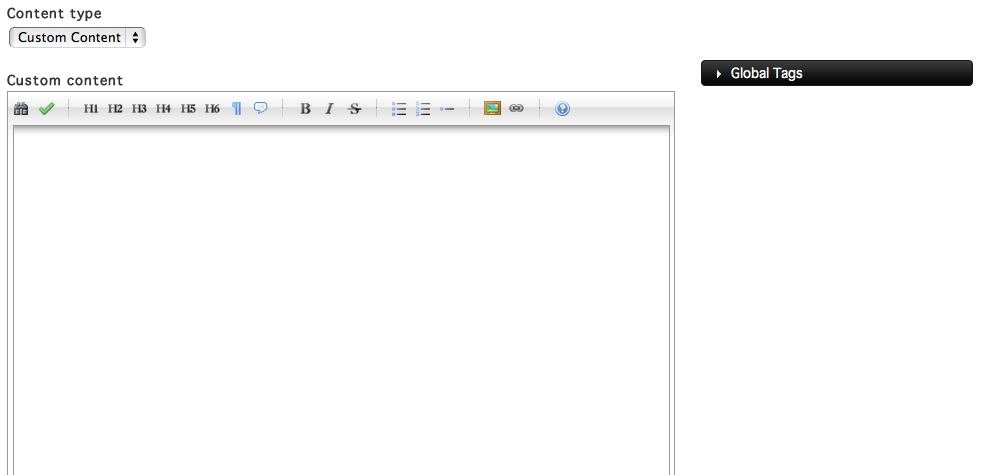
Content
The Content fields control what kind of content is shown by the item when the match is met.
You can choose the type of content to show by picking a value from the Content type select menu.
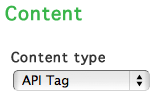
Choosing API tag allows you to insert any API tag into the API tag field below the Content type select menu.

Choosing Custom Content will show a basic editor that can contain HTML code, as well as variables listed in the Global Tags list to the right of the editor.
Choosing Navigation allows you to insert specific item keys and parameters for a navigation menu.
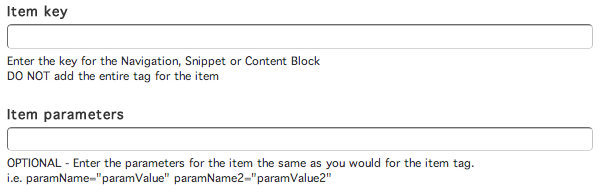
When inserting item keys and parameters into these fields, do not include the brackets ( {, }) into the fields.
For example:
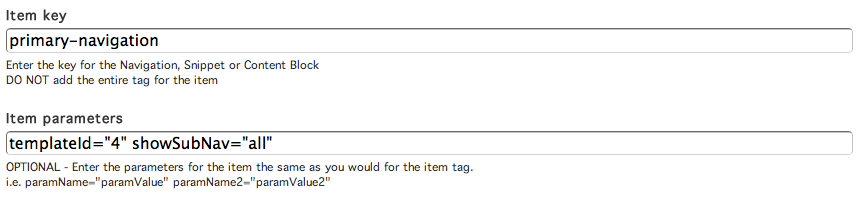
Similarly, choosing Snippet and Content Block allows you to insert item keys and parameters into the Item Key and Item Parameters fields. Do not include the entire tag into the fields; instead, include only the item key into the Item Key field and only the parameters and their values into the Item Parameters field.
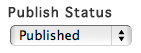
Publish Status
Similar to publishing blog posts, gallery items, and other items within Branch, Containers have the ability to be Published, Published Later, or Not Published by changing the settings within the Publish Status tab.
By default, a container item is set to be published as soon as it is created. It can be set to be published later or not published by choosing a value from the Publish Status select menu.
If you choose Publish Later, choose a date and time from the Publish Date menus by picking values from the select menus.

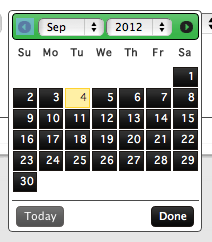
Instead of picking a date using the select menus, you can use the date picker by clicking the calendar icon to the right of the date select menus.
![]()
Clicking this icon will bring up the date picker. Choose a date from the date picker by clicking on the day.
Items can be set to be published for a limited amount of time. By default, they will stay published until they are manually unpublished. To set an item to be automatically unpublished after a certain date, choose A Specific Date from the Publish Until select menu.
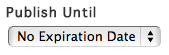
Choosing an Expiration Date follows the same process as choosing a Publish Date.
