Creating a Page Content Layout
Now that you have your template created for the home page, you can create a new content layout that can be used for your page. While a template provides the basic structure for a web page, a content layout contains all the formatting of a page. Within a content layout, you can add fields and then control where the output of these fields display on your pages.
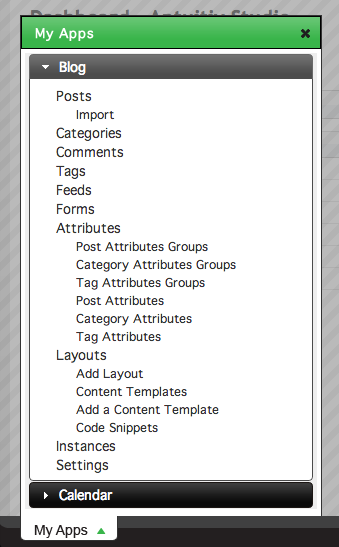
By default, the basic content layout is a simple rich text editor. To add more fields to a content layout, click Content Layouts under the Pages section in the My Apps menu.
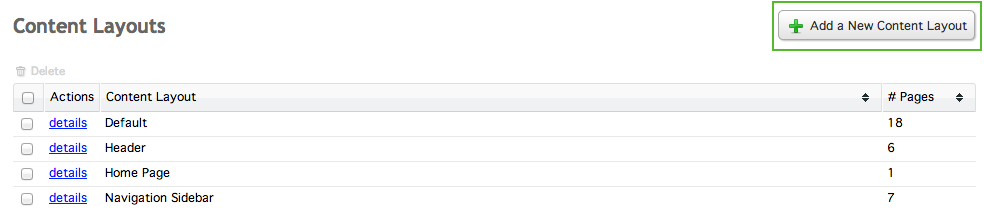
At the Content Layouts screen, click the Add a New Content Layout button in the top right.
Give your layout a name and click Save Content Layout to continue.
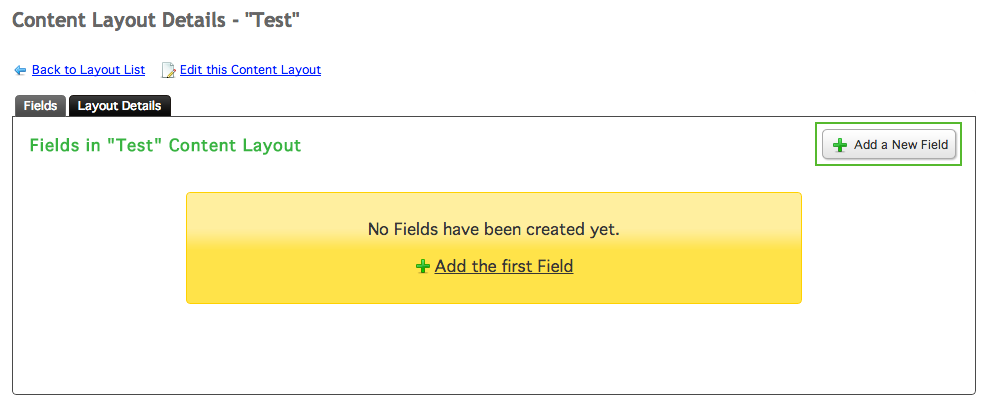
After you've created your content layout, you will be taken to the content layout details screen. You can add a field to the layout here by clicking Add a New Field on the right side of the screen.
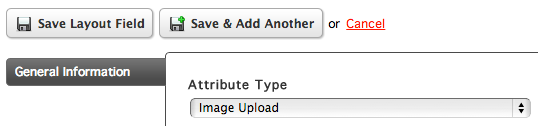
Pick an attribute type to add to your content layout from the Attribute Type dropdown menu, give it a label, and save the field. Repeat this process for all the fields you want to use in your layout. This example will use two fields: an image upload and a paragraph text field, called Image and Text, respectively.
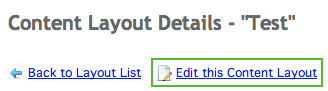
After you've finished adding your fields, you'll be taken back to the content layout details page. From here, click Edit Content Layout.
This will take you to the Edit Content Layout screen. Creating a content layout is similar to creating a template. When you use this content layout for a page, any code that you have placed within this content layout will be displayed wherever you have placed the content block using this particular layout.
This example content layout uses an image and some plain text. In order for a user to be able to see the content used within this content layout, the layout tags need to be added to the content layout.
You can see all your layout tags by clicking on the Layout Tags menu to the right of the editor. Simply copy and paste any layout tags you want to use into the editor.
<div class="image-wrapper">
{#image.tag}
</div>
<div class="content">
{#content}
</div>
The code above is used in this example.
Certain fields in a content layout contain multiple attributes that are stored in arrays. These attributes can be accessed with the following tag format:
{#field.attribute}
To see all of a fields attributes, you can debug the field, like so:
{#field|debug}
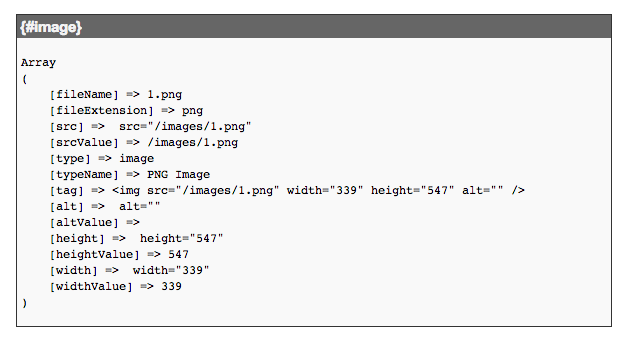
Debugging will show you everything about the variable that you have chosen to debug. This is very useful to figure out exactly what you need to use from a variable or an array. For example, if you have an image field in your content layout, you can debug it by using the tag:
{#image|debug}
This will show the output for the image field and all of its parameters, like so:
Debugs are not limited to the first level of an array; for example, you can debug the src attribute of an image, like so:
{#image.src|debug}
Which will show return:

Debugging variables to use only specific parts within your content layouts and templates make the development process very flexible and easy to use.
Once you have created your content layout and are satisfied with your code, you can save it and start adding pages to your site using your content layout.
Now that you've learned how to create a page content template and work with variables, you can apply those concepts in Step 3 where you will be setting up the Blog app.