Setting up the Blog
Much of the process of setting up a blog, gallery, and other apps, is similar to adding attributes and creating a page content layout, however, apps generally have their attributes already created.
Structure of a blog
A standard blog has two basic sections:
- App Home
- Post Detail
There are three steps to creating a view for each of these sections.
- Create the content template.
- Create the layout and assign a content template to it.
- Assign the layout to the view type in the app settings.
Creating Blog Posts.
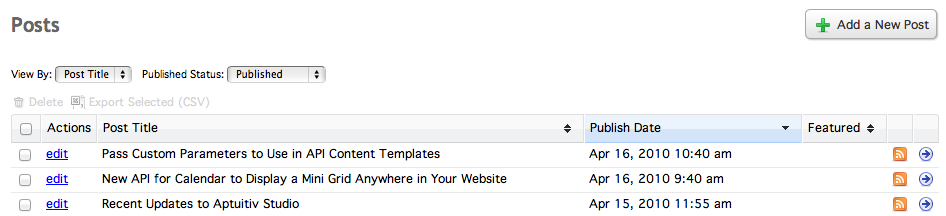
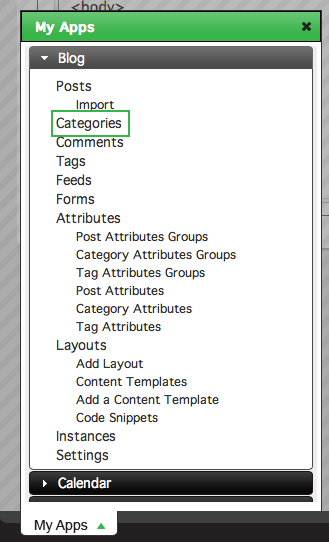
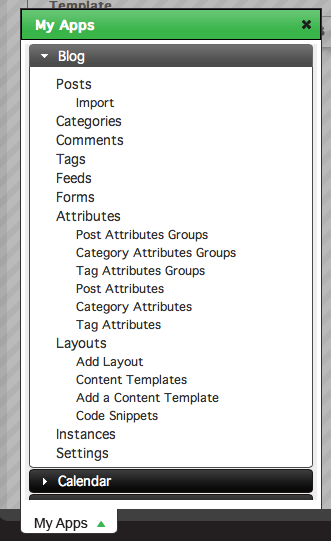
In order to be able to see what you are creating when you are making your content templates and layouts, you'll want to create a few blog posts so some content is output when you are viewing your blog. To do this, click Posts under the Blog section in the My Apps menu.

Add a new post by clicking Add a New Post in the upper right of the post list window. Repeat this process as many times as you want.
Since this blog is going to utilize categories, you will want to create some categories as well. To do this, click Categories under the Blog section in the My Apps menu.
Click Add a New Category in the top right of the Categories screen.

Give your category a name and save it.
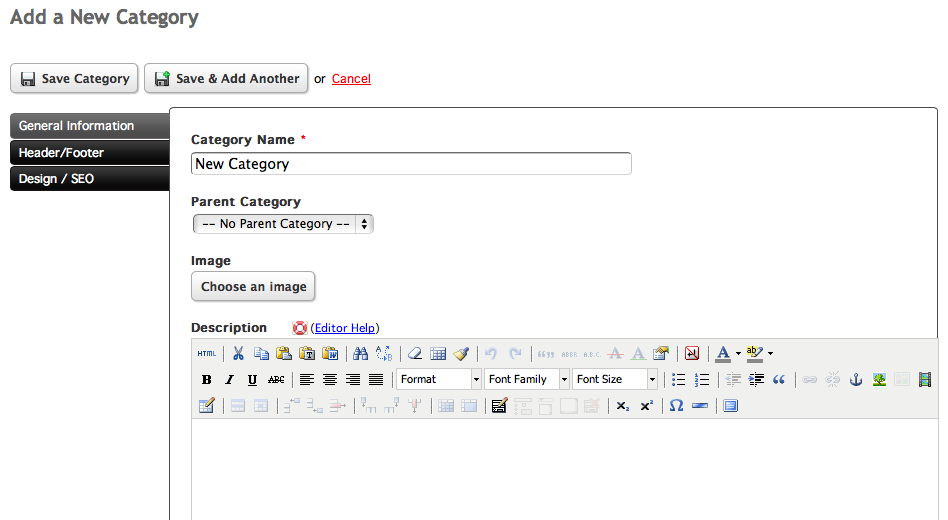
Repeat this process as many times as you want.
Creating the content template for the App Home/Post List.
Creating the content template for the blog is very similar in regards to creating a content layout for a page. To create a new content template, click Add a Content Template under the Blog section in the My Apps menu.
You can also add a new content template from the Content Templates screen.
The Add a New Content Template window has a Template Type menu with a listing of template types that you can choose to create. Different template types will have different variables and content available to them. For example, a Tag List template won't have all the content available to it that a Category List template would have, and vice versa.
Start off by choosing the App Home template type from the menu.
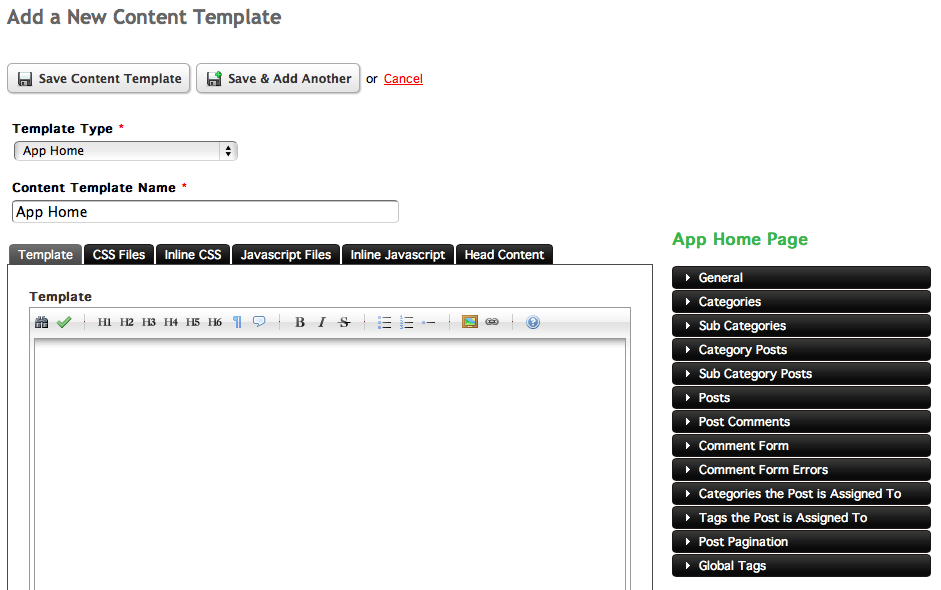
This will show the Content Template Name field, and, similar to the Content Layout window, the template editor, as well as the variables and content tags that are available to the content template to the right of the editor.
The biggest difference between the process of creating a Content Layout for a page and a content template for an app is the usage of loops. A loop, at its core, is the process of pulling out individual pieces of data from a group of data. In this case, a loop in the blog app is used to cycle through all of the published posts one at a time and apply formatting and styling to each them.
The following code is the most commonly used for a loop in a blog post list:
{loop items="#posts" value="post"}

{/loop}
Note: No curly braces are used in the items and value parameters; also, the hash symbol is only used in the items parameter, not the value parameter.
With the loop set up, you can now format posts on an individual basis by using the tag you defined in the value parameter of the loop. Each post has its own parameters that are assigned to it and that can be used in a post list. For example, every post has a post title that can be accessed by using the tag:
{#post.postTitle}
Using this inside the loop will cause the post title for every post to be output. Following the same concept, you can get the post title, abstract, date, and more.
{loop items="#posts" value="post"}
   <div class="post">
     <div class="post-title">
       {#post.postTitle}
       <span class="post-date">
         {#post.publishedOnDate}
       </span>
     </div>
     <div class="post-abstract">
       {#post.abstract}
     </div>
   </div>
{/loop}
If you want to create a link from each post in the post list to the individual post detail page, you can use {#post.url} to generate the path for the individual post. For example:
{loop items="#posts" value="post"}
   <div class="post">
     <div class="post-title">
       <a href="{#post.url}" title="{#post.postTitle}">{#post.postTitle}</a>
       <span class="post-date">
         {#post.publishedOnDate}
       </span>
     </div>
     <div class="post-abstract">
       {#post.abstract}
      <a href="{#post.url}" title="View the entire post">More</a>
     </div>
   </div>
{/loop}
Now, a list of your posts with links to each post will be printed out and the individual post content templates and layouts can be made.
Since your template has two content blocks, you can create another content template to output to the blog page. A Category List template will be used for this example
Follow the same process used to create an App Home template and create a Category List template. Similar to the loop used in the App Home content template, you can loop through your blog's categories and output information about them. For example:
{loop items="#categories" value="category"}
   <div class="category">
     <a href="{#category.url}">{#category.title} ({#category.postCount})</a>
   </div>
{/loop}
This will output all the categories as well as the number of posts assigned to each category.
Setting up the Blog Home Layout
After creating a content template, you have to create a layout to assign your content template to. A layout is essentially a foundation for your app's content. Layhouts allow you to assign content templates from your apps to available content blocks.
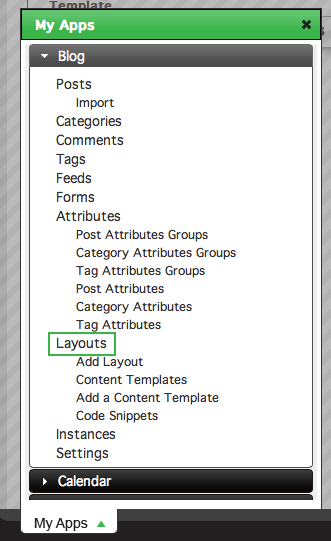
Create a new layout for your blog by clicking Layouts under the Blog section in the My Apps menu.
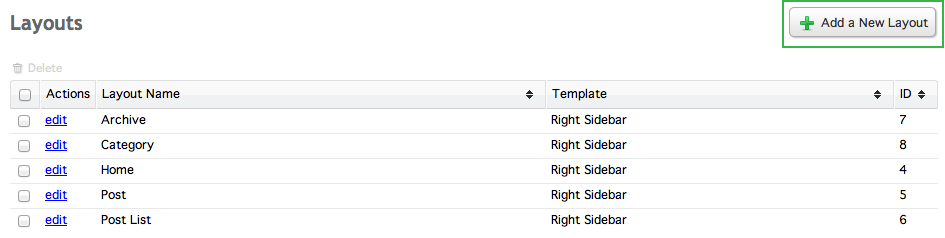
Click the Add a New Layout button in the top right of the window to create a new layout.
Give your layout a name by typing into the Layout Name field and assign your layout to a template by choosing an option from the Template menu.
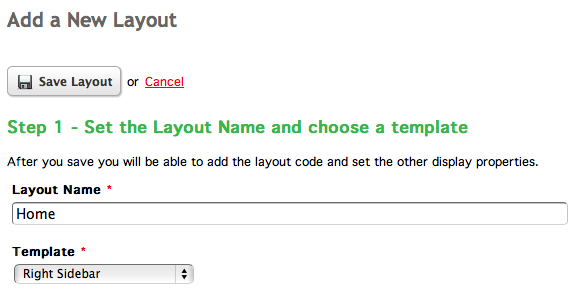
When you are finished, click Save Layout to save your new layout and go to the Edit Layout screen.
At the Edit Layout screen you can assign content templates to each content block that your layout is assigned to. Since this is the layout for the Blog Home, assign your App Home content template to the main content block by choosing it from the Content Template select menu.
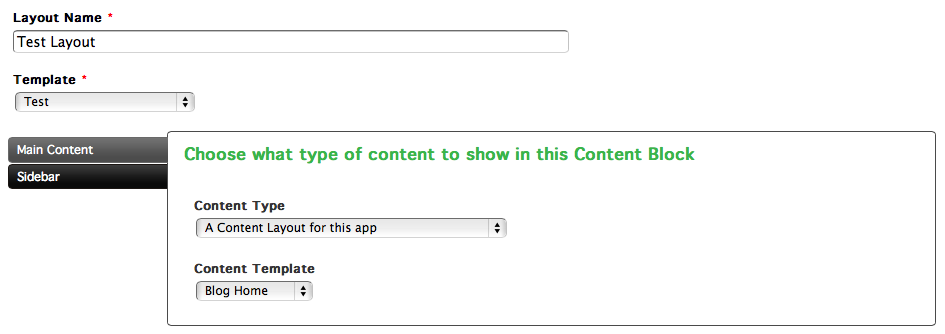
Assign your Category List content template to your sidebar content block by choosing it from the Content Template menu.

The last thing that needs to be done once a content template as assigned to a layout is to choose which layout to use within the app settings.
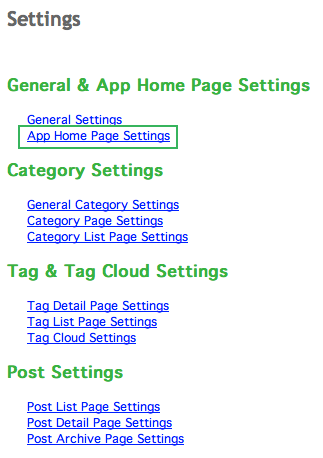
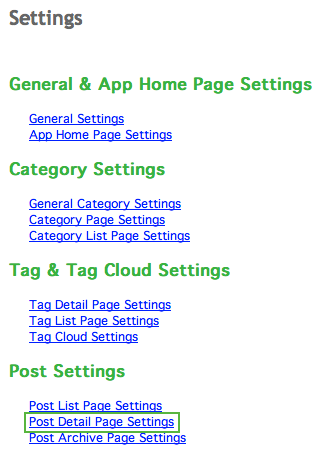
Access the blog settings by clicking Settings in the Blog section in the My Apps menu.
Click on App Home Page Settings on the top left of the settings window to go to the home page settings.
In the General Settings tab, select the layout that is using your App Home content template from the Layout menu. You can set the amount of items you want to show in the post list by typing a number in the Number of Items to Show menu. If you want all posts to show, set the value to 0.
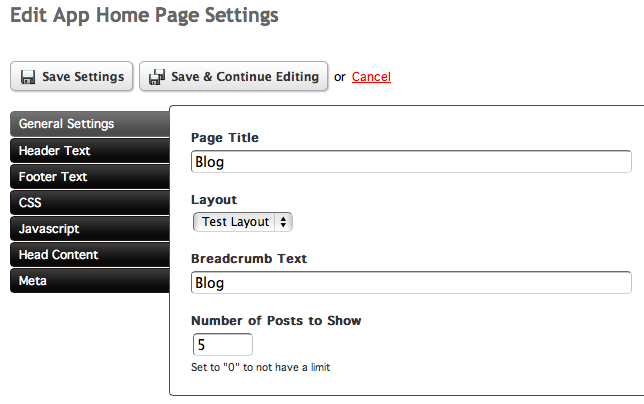
Click Save Settings when you are done. Your Blog app home page should now be up and running.
Setting up the Blog Post Detail Template/Layout
Much of the process of setting up a post detail, gallery item detail, or other detail pages within other apps, is similar to creating the content template like you just did for the blog post listing. Like the post list page, the attributes for a post detail page are created by default and ready to be used in your content templates.
To create a post detail content template, choose the Post Detail option from the template type menu when you are creating a new Content Template.
Like when you created your page Content Layout and blog App Home content template, you can use the {#post} tag and the parameters within that tag to show certain parts of your post and apply formatting around it. For example:
<div class="post-title">
   {#post.postTitle}
</div>

<div class="post-date">
   {#post.publishedOnDate}
</div>

<div class="post-content">
   {#post.content}
</div>
Save your content template once you are satisfied with it. The next step is to create a new layout for the post detail page and assign your newly created content template to it following the same method used earlier when creating the layout for the app home.
After you have created your post detail layout and assigned your content templates to the content blocks, go to the blog app settings.
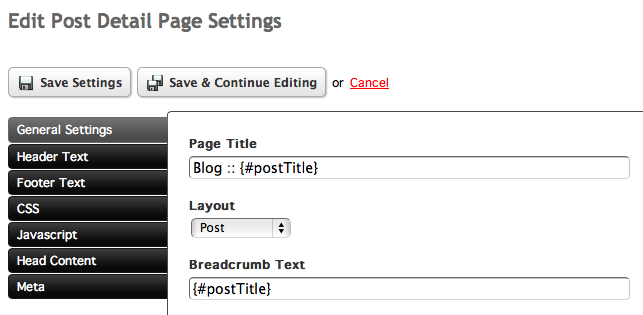
Within the app settings screen, click on the Post Detail Settings to go to the settings page and assign your content layout.
When you've assigned your layout, click save.
Your individual posts can now be viewed by going directly to their URL or by clicking the More link set up within the App Home page created earlier.
Creating a Recent Posts API
An API is a way to pull in content from an app onto another page. For example, you could create a Recent Posts API for the blog and have the titles of your three most recent blog posts be pulled into your home page. These APIs function as a way to make your site's content more accessible to users by placing links to the content in multiple places on your site.
The process of making an API is the same as making a content layout of the same type. For example, the App Home content template contained a loop that cycled through all of the posts in the blog app. A Recent Posts API can use the same code and formatting as the App Home content template and output the same content wherever that tag is placed.
To create a Recent Posts API, add a new content template and choose the API - Recent Posts option from the template type menu.
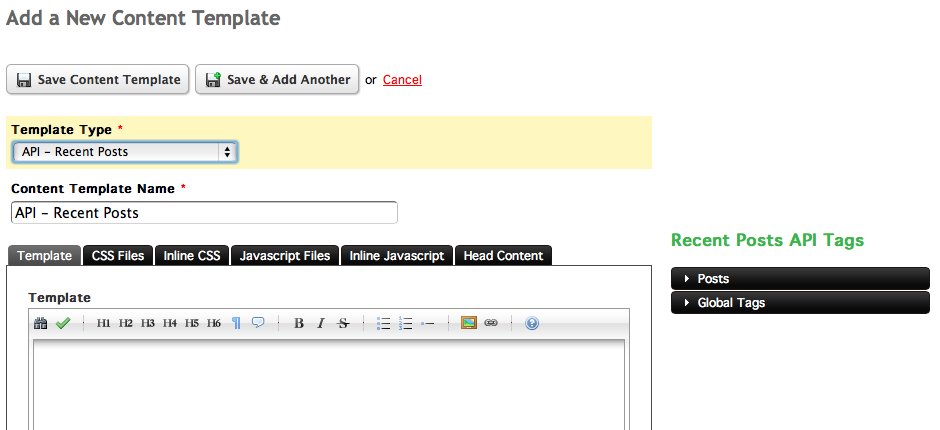
Create your content template in the same way that you created the App Home/Post List content template and save it once you are done.
An API tag follows a somewhat similar format to other tags used by the CMS and can be placed anywhere you can write code. For a Recent Posts API, the tag would be formatted as follows:
{ap_api:blog:recentPosts templateId="1"}
- ap_api denotes that this tag is referencing an API.
- :blog: denotes that the API is referencing the blog app. All apps that use APIs follow this format. If this were a Calendar API, the start of the tag would read {ap_api:calendar … } instead.
- recentPosts after the app name says what kind of API is being used.
- templateId references the content template used when creating the API. Each content template gets its own templateId. For example, if your API content template has a templateId of "3", then your tag would be formatted as {ap_api:blog:recentPosts templateId="3"}
API tags can also receive parameters to control how they work. For example, the blog API tag can have a limit parameter to allow only a specific number of posts to be listed with the API, like so:
{ap_api:blog:recentPosts templateId="3" limit="3"}
You can find more information on the Recent Posts API parameters by viewing the documentation.